1: Guide to Writing Hit Online Novels
Step 1: Choosing a Topic
First, choosing your topic is crucial. You could say that with a good topic, the right tone, and a great name, you're already halfway to success!
Remember, this guide is about teaching you how to write hit online novels to make money, not how to become a literary giant. To write a hit, you must cater to the market and the demand. Don't keep chasing your own personal literary ideal. Of course, true masters can weave their personal expression into wish-fulfillment fiction—that's the mark of a true expert. But first, you need people to read your book, which gives you the motivation to keep writing.
Let's cut to the chase: in a nutshell, write what your readers want to read.
How do you do that specifically? It's quite simple. Go check out the various ranking lists on major online fiction platforms—rising charts, popularity rankings, tipping leaderboards. Keep these points in mind:
- Focus more on recommendation lists rather than just hot/top lists. Recommendation lists represent real-time user preferences identified by the platform's algorithm. They are more timely than general popularity lists and offer more space for newcomers.
- Works by top-tier authors can sometimes succeed regardless of genre. Therefore, avoid topics already dominated by authors with millions of followers; even if you write better, you might not get readers.
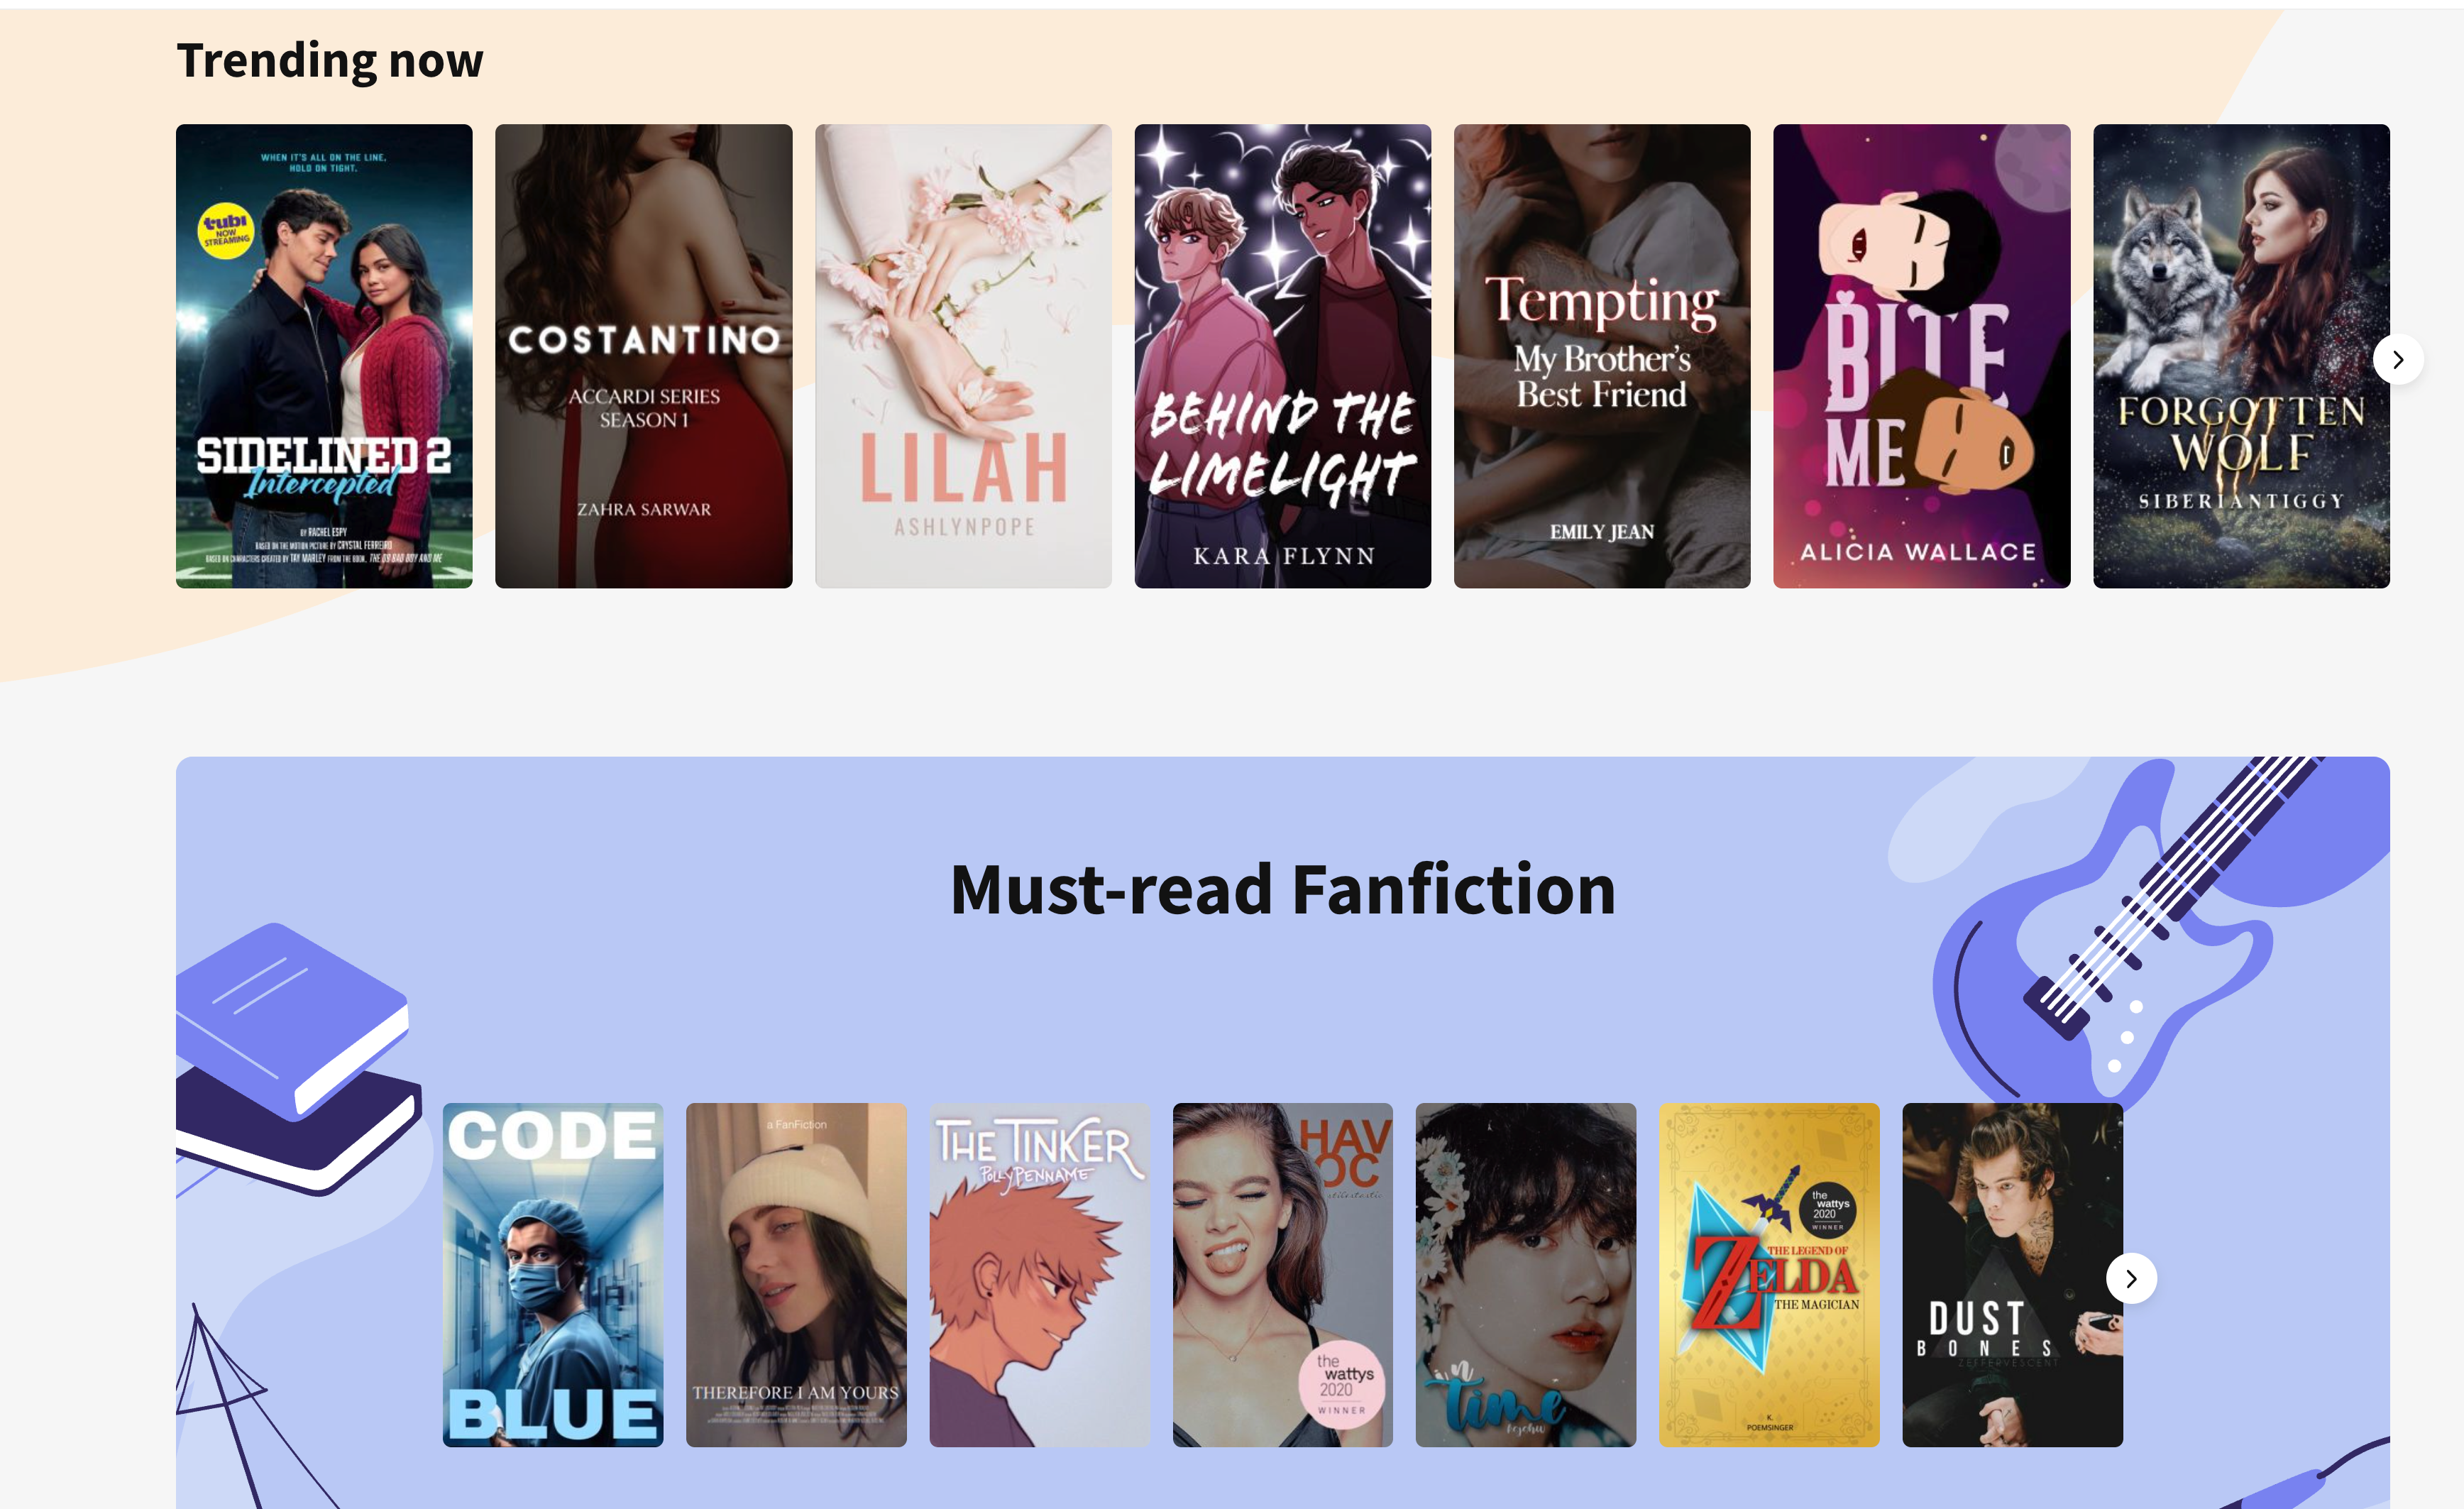
As shown in the image below, taking Wattpad as an example, you can see that time-travel stories are still quite popular recently, and post-apocalyptic themes are also doing well. Of course, this example is from the male-oriented section; for the female-oriented section or other niche categories, please explore them yourself.
Finally, how do you finalize your topic? Just browse and read a lot to get a feel for it. Your own intuition is also very important. Without that feeling, you won't have inspiration and might not even come up with a title. Skim the first few chapters of popular works, flip through the content to understand the writing style, check the comments to see what readers currently enjoy. So, before you actually start writing, it's best to read extensively first. Many successful new authors are actually veteran bookworms who've read for years. Once you've read enough, you'll naturally develop ideas you want to write about.
OK, if you now have an idea brewing in your mind, feeling a surge of inspiration you can't hold back, then quickly come up with a name! A good name is half the battle! Names are very important nowadays; they generally need to grab attention instantly and be quite direct. If you're stuck, just ask DeepSeek to help brainstorm some ideas.
Step 2: A Quick Start
Again, a good name is half the battle. But how do you know if it's good? Test it with a quick start and let the data speak. If it doesn't work, we can always start over.
A quick start is perfectly suited for AI, especially by strongly recommending the use of DeepSeek V3.1 in combination with FeelFish. It can help you nail down the style, tasks, settings, and even the first few chapters in just three minutes. Here are the specific steps:
Visit https://www.feelfish.com/zh to download the FeelFish client, available for Windows and Mac (What, you only have a phone? Buddy, you really need a productivity tool for writing novels!)

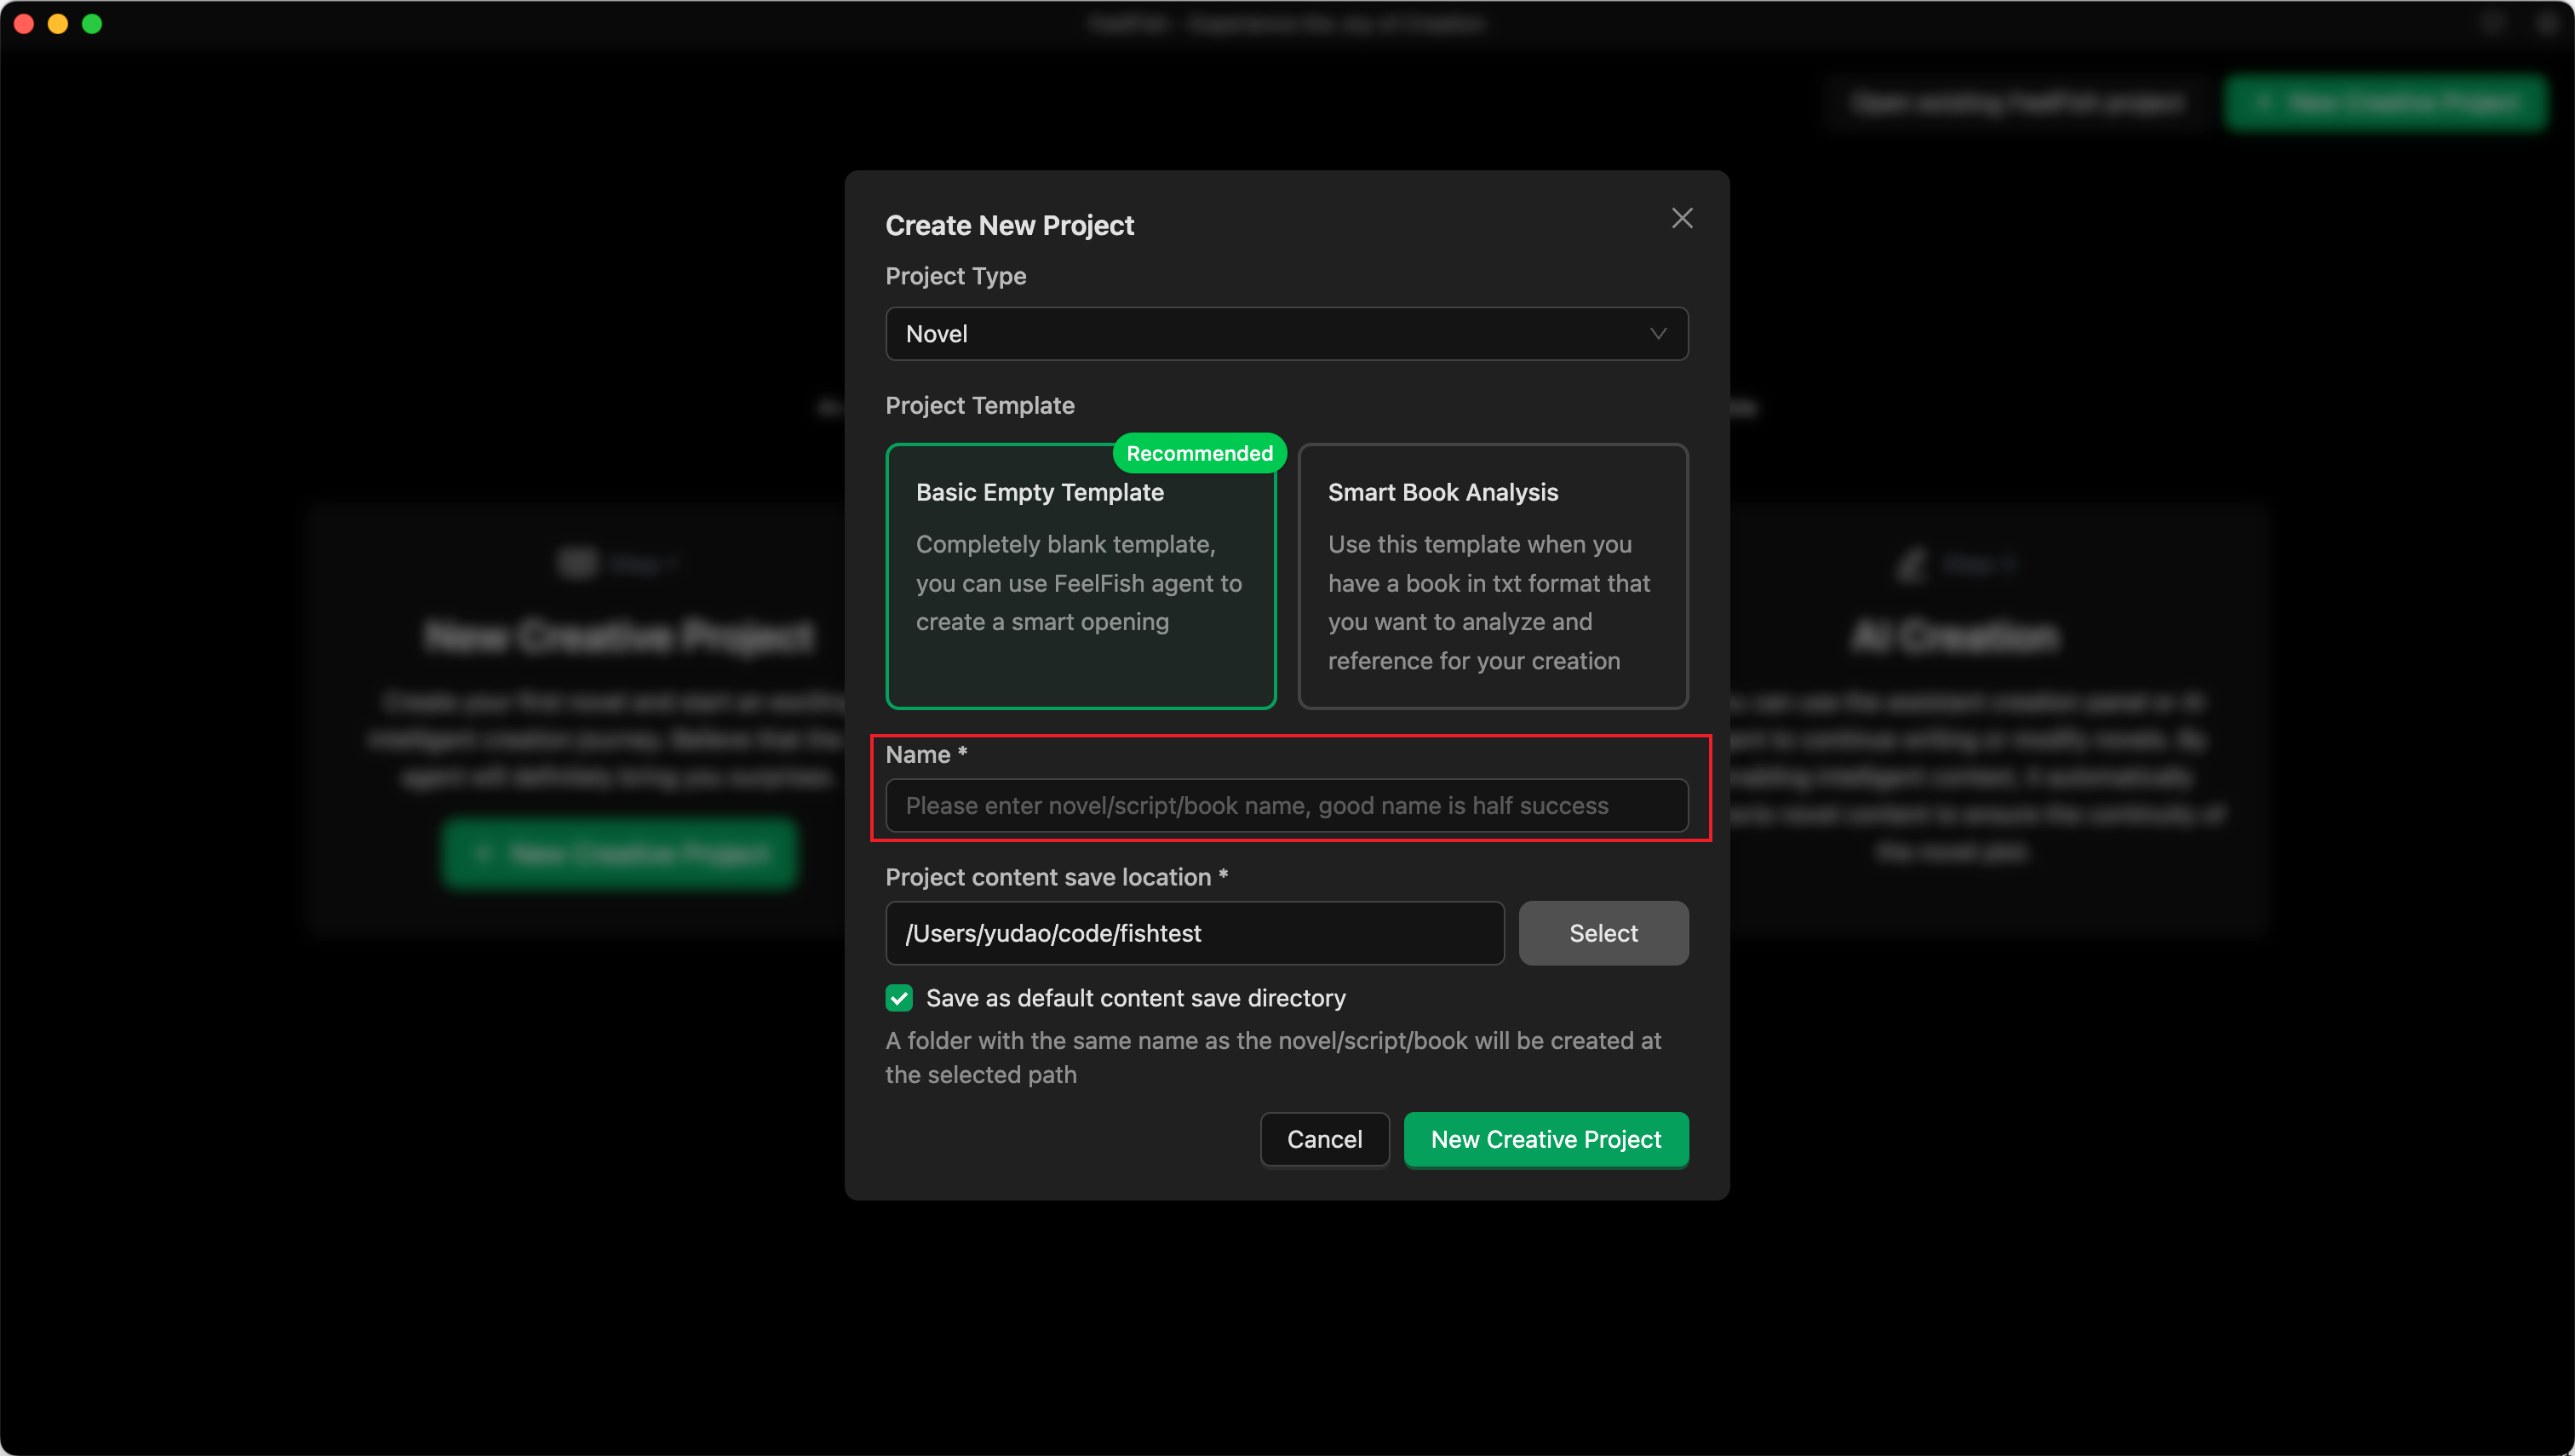
After downloading and installing, open it to see a clean interface with a "Create Novel" button. Click it.
After clicking, select the blank template. In the input field, enter the first version of your chosen name. For example, I'll start with the title "Crossing the Yashan Naval Battle: I Lead the Great Song to a Miraculous Turnaround":
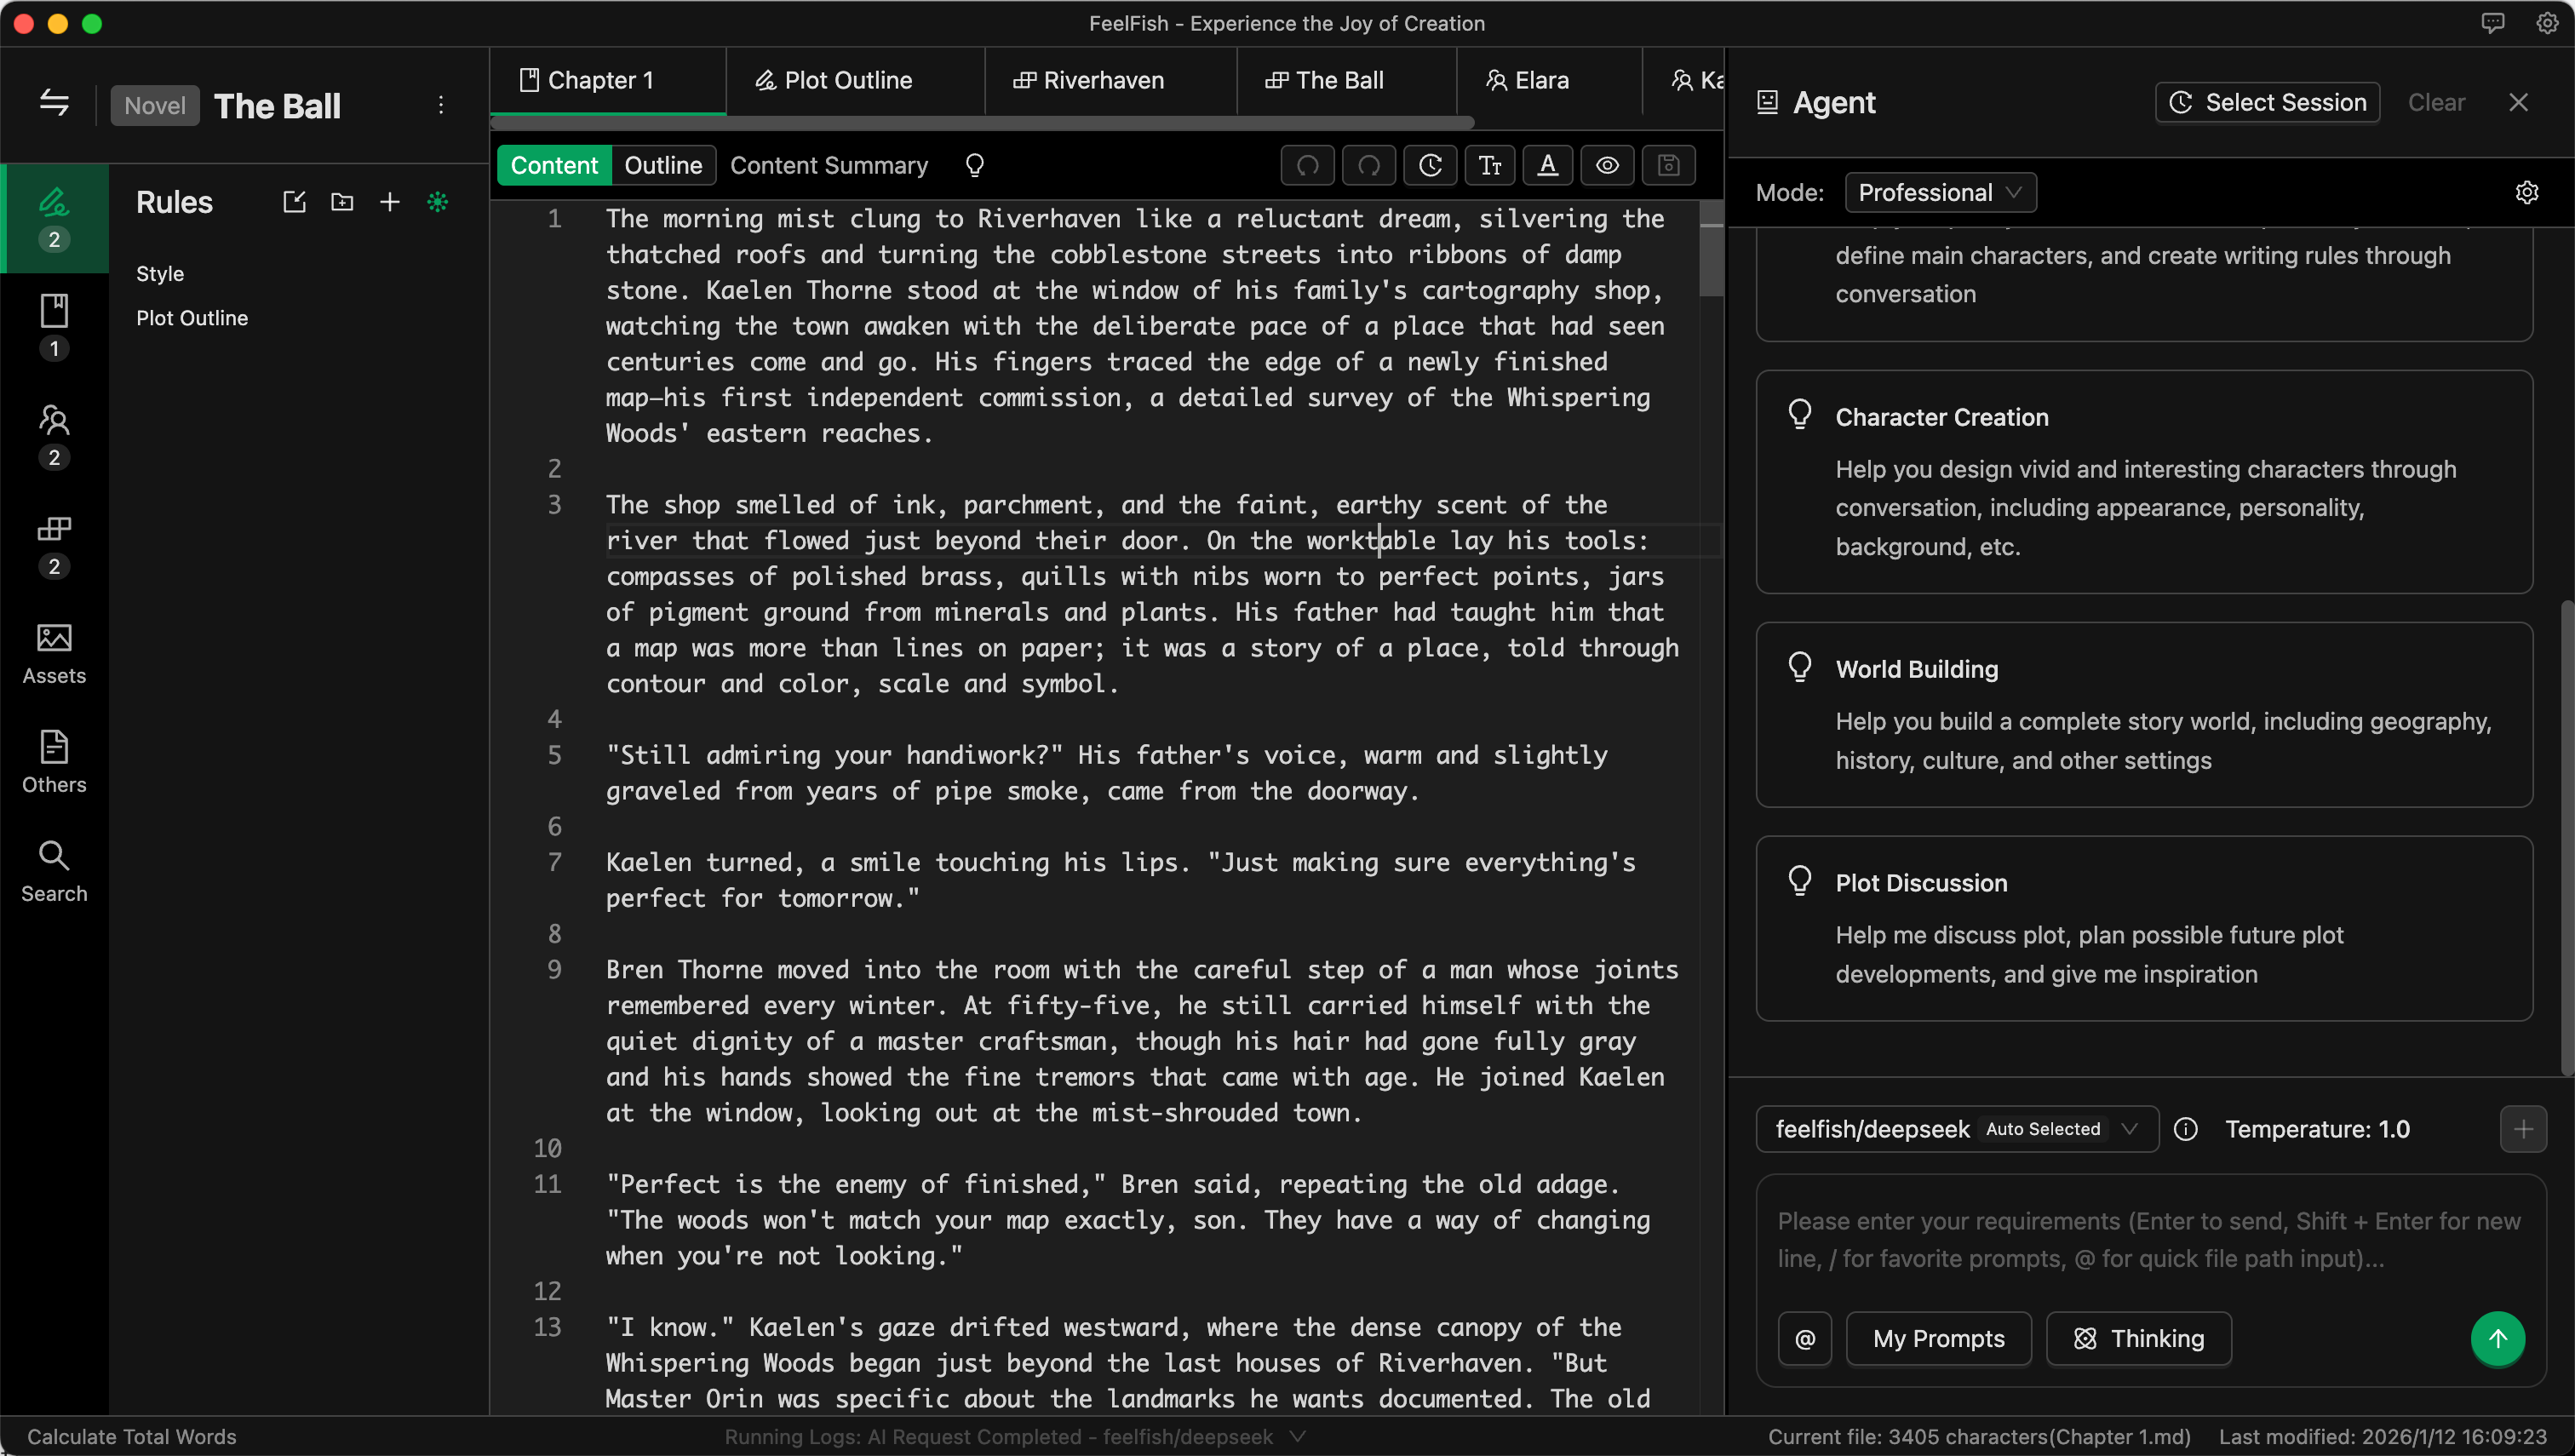
After creation, you will automatically enter the project, and the FeelFish Agent on the right will open automatically. The Agent is very powerful—it's not just for conversation; it can automatically help you modify content. The left side of the project shows the novel's directory structure with files for characters, settings, chapters, rules, etc. The middle is the editing area. First, directly click the Agent's built-in prompt "Smart Opening," as shown below, and click to start:
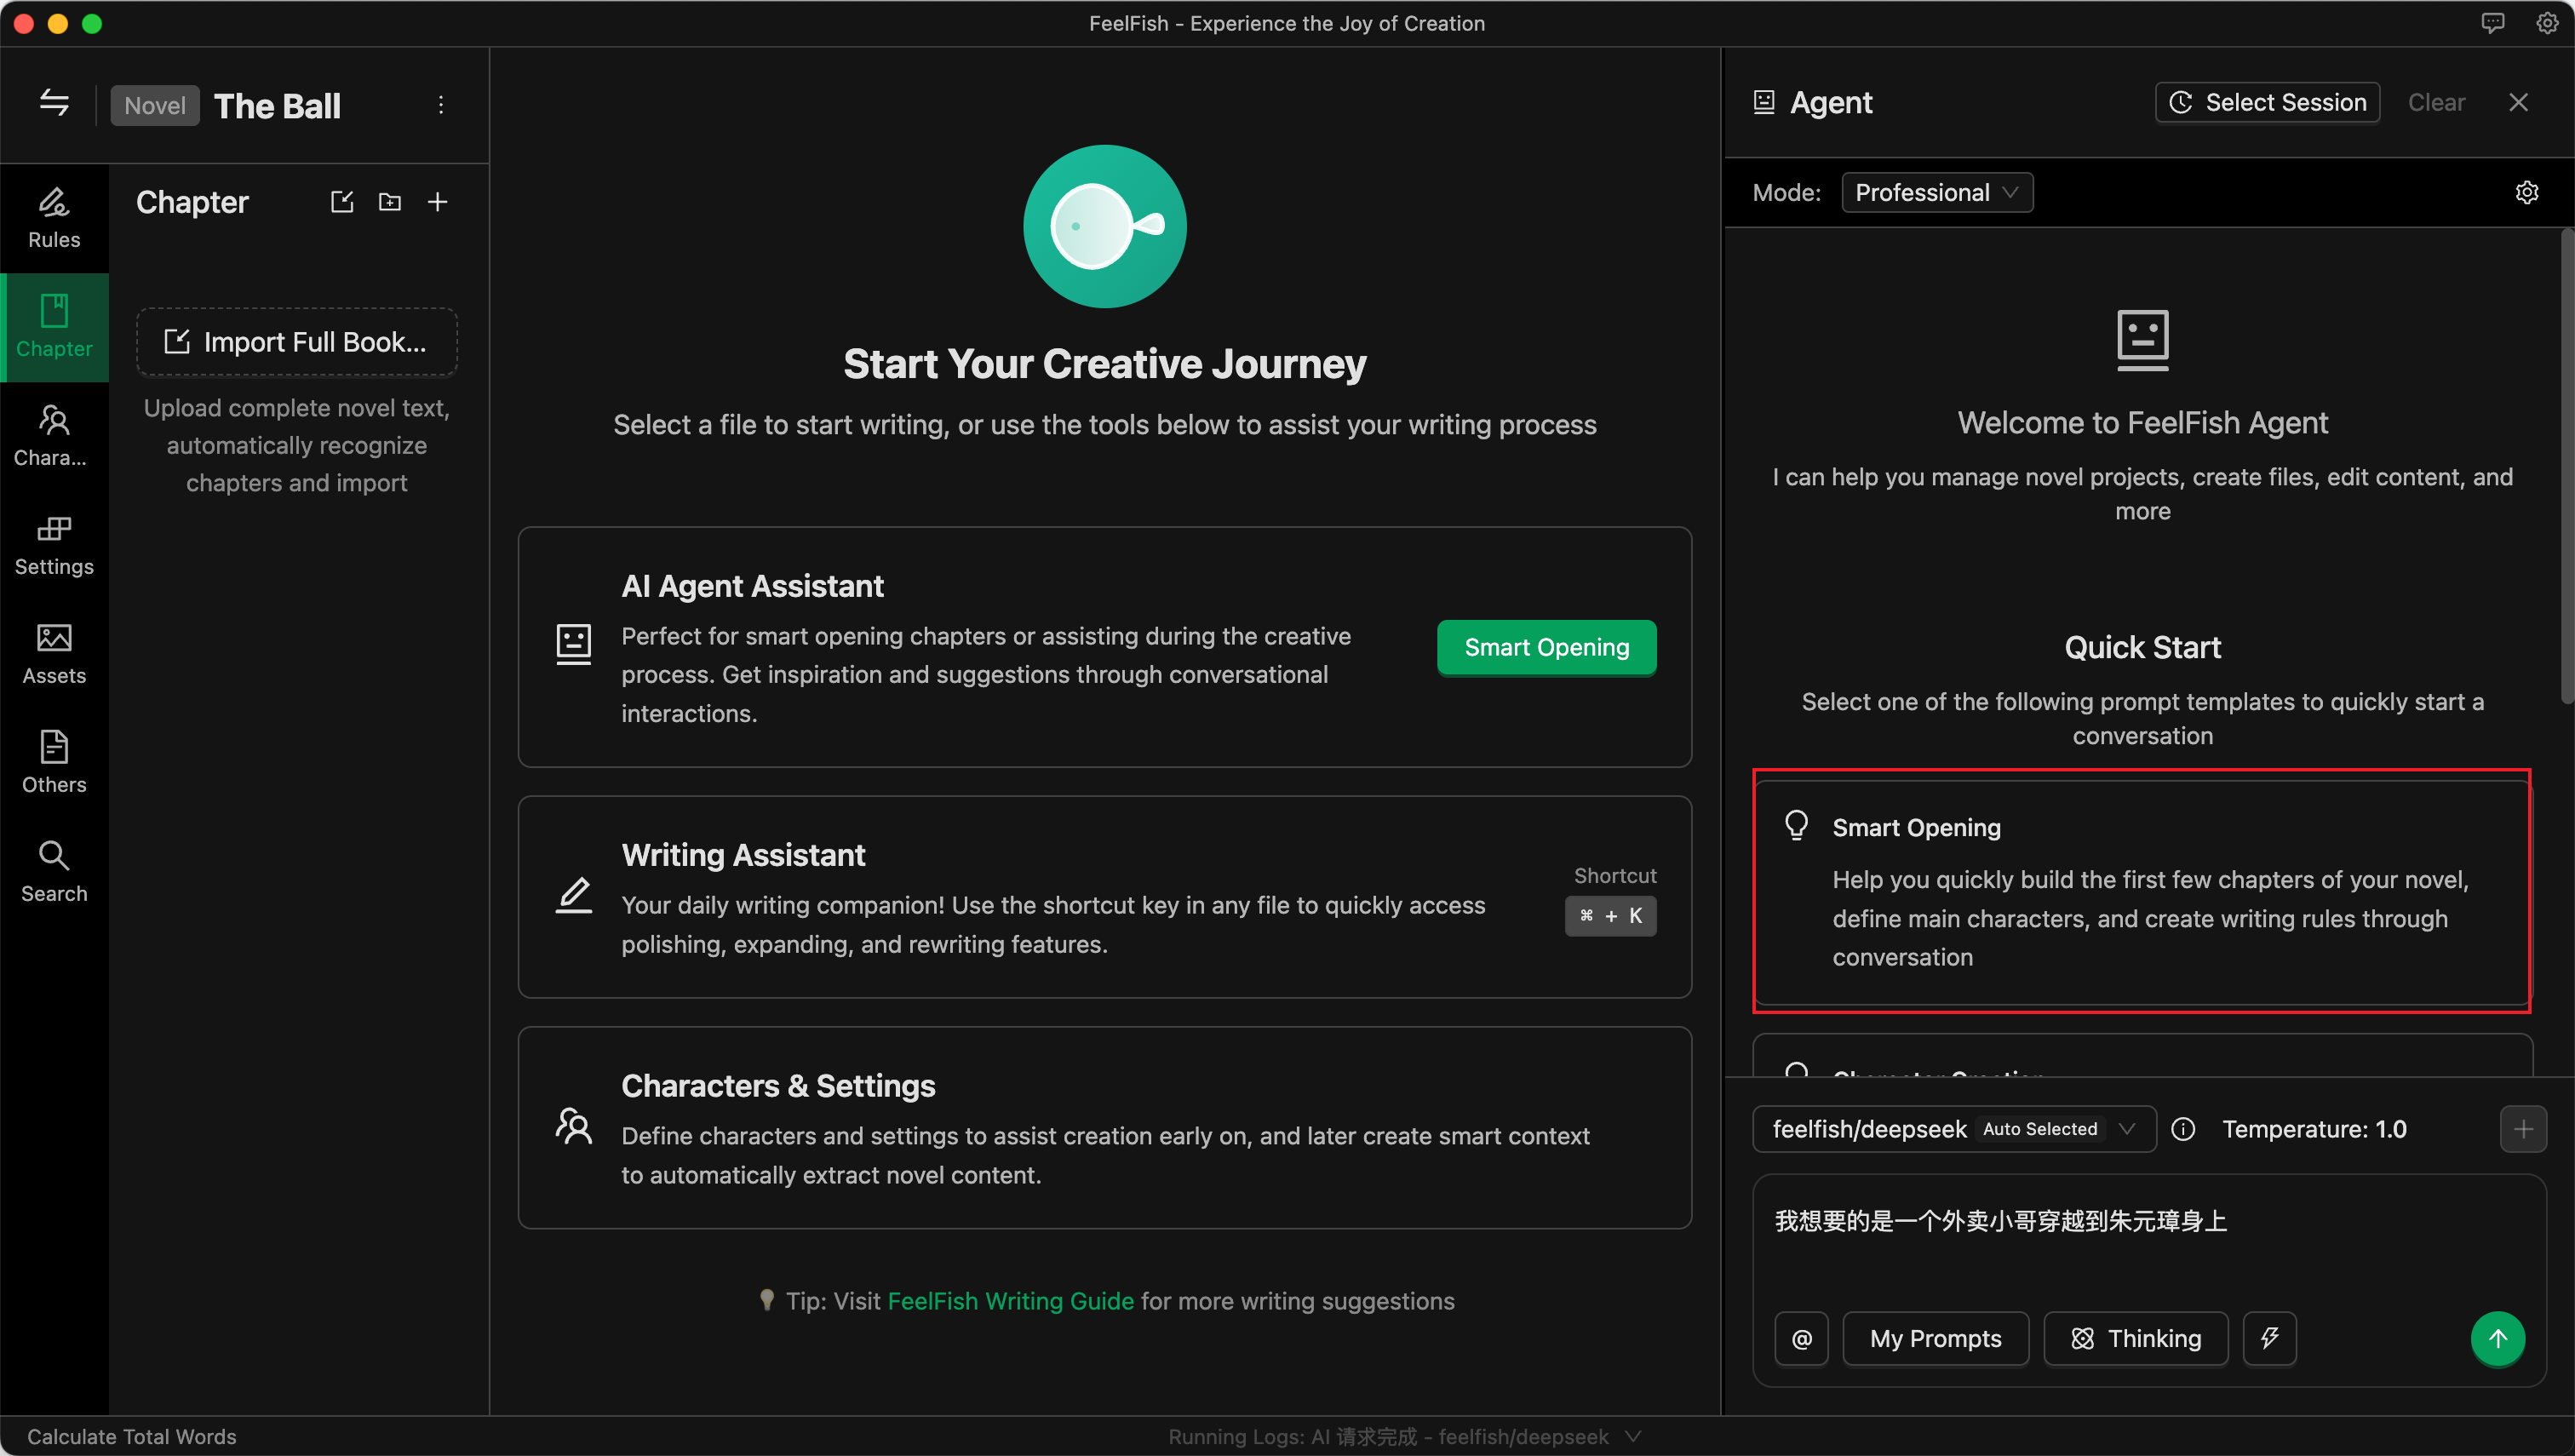
Next, converse with the AI. Tell it any ideas you have, infuse it with your inspiration! Of course, if you're feeling lazy, you can let the AI handle everything, but I recommend trying to input as many of your own ideas and preferences (or your readers' preferences) as possible into the Agent.
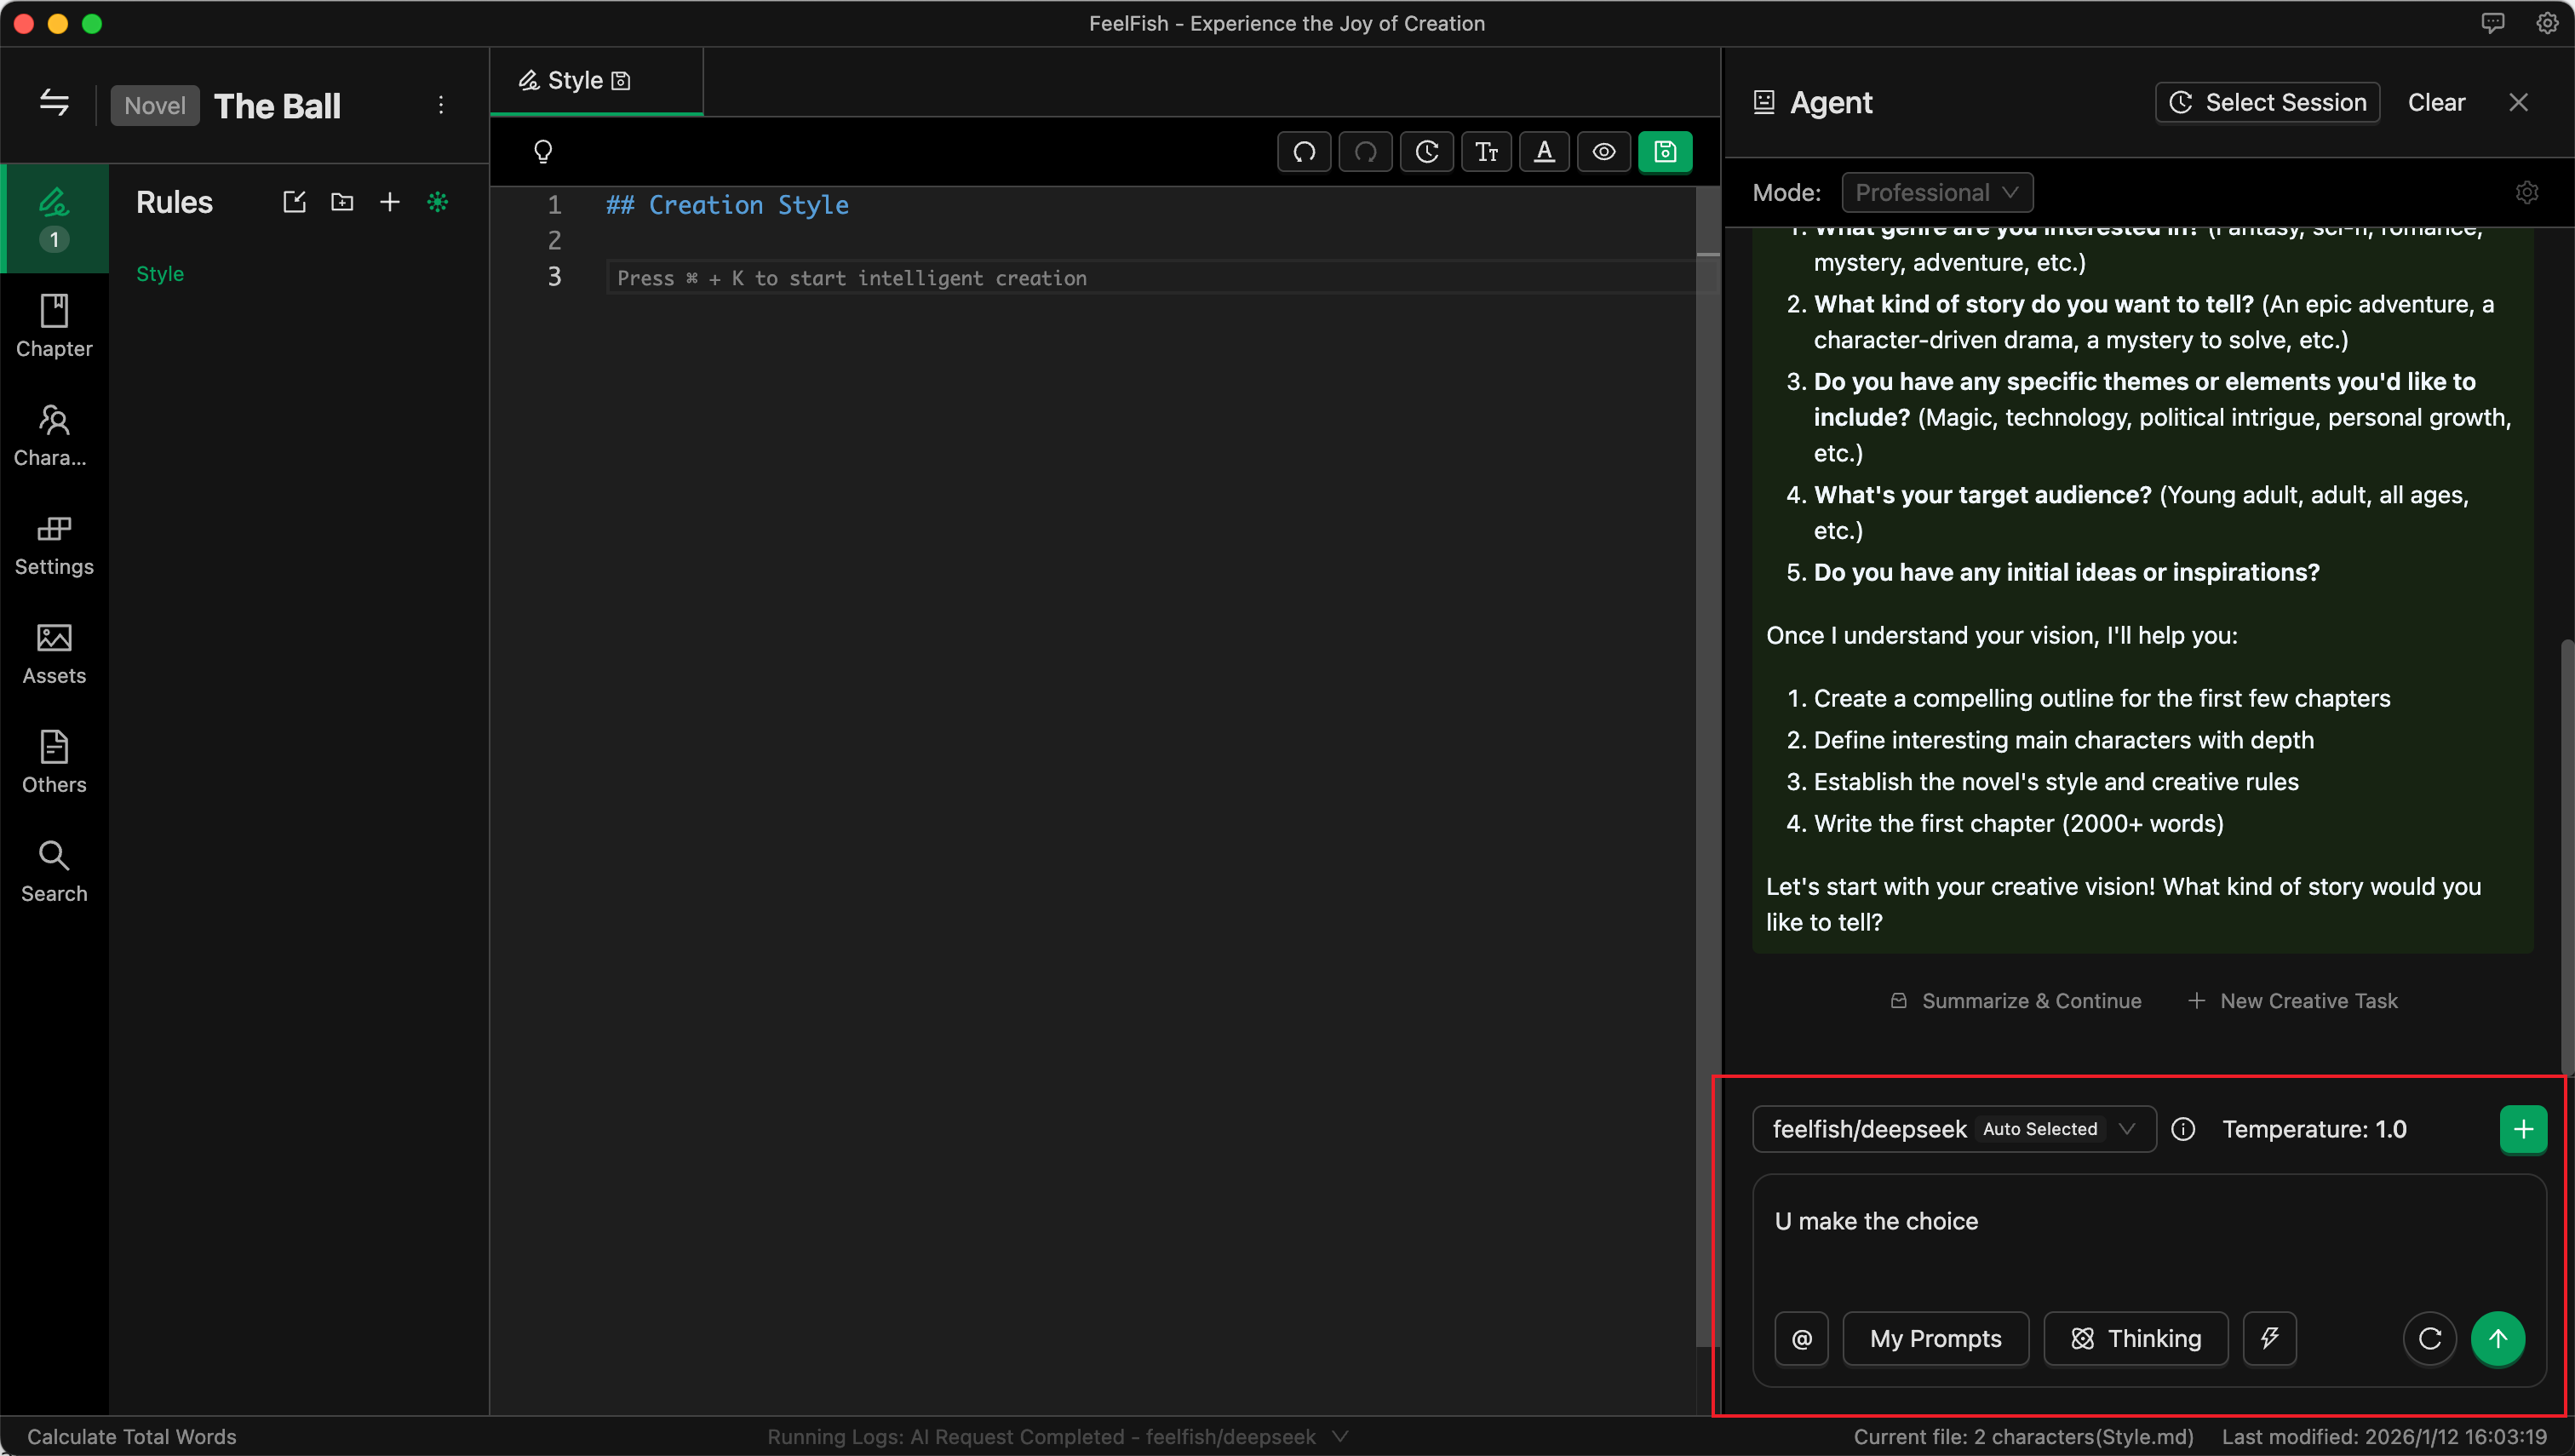
As shown above, I provided an idea: "I want a light-hearted, humorous wish-fulfillment style. You decide the rest."
Then the AI handles everything else. Actually, the novel's name already reveals plenty—that's why I say a good name is half the battle!
Now, just sit back and watch the AI perform!
Effortlessly, in 3 minutes, various settings + over 5000 words for the first chapter are done.
If you're not satisfied, you can continue communicating with the AI to make changes. However, note that for independent tasks, it's better to start a new conversation for modifications to avoid historical messages interfering with the AI and adding unnecessary token consumption.
Alright, with a good start, let's move on to the next part.
Step 3: The 80,000-Word Verification Period
No matter what, you need to complete 80,000 words (especially on platforms like Royal Road, which have an 80,000-word verification period. For other platforms, be sure to understand their rules—this is very important).
How to complete the first 80,000 words? You can't have the AI output 80,000 words at once. At this stage, we need to first create an outline and then expand based on it—this is the most efficient method. 80,000 words is roughly 20 chapters. Let's generate an outline for these twenty chapters in one go. Here's a reference prompt; you can also modify it based on your own preferences (if you have clear ideas, tell the AI):
"Please help me create an outline for the next 20 chapters, writing directly into the chapter content. Require the chapter outlines to have a fast pace, constant conflict, and rising suspense. Each chapter must have a clear 【hook】 to keep readers coming back for more."
Then, once more, watch the AI perform!
Of course, if the information you provide is too simple or too fantastical, the AI might generate some strange content. This is where we need to guide it. Guidance is simple—it's basically a conversation. Imagine yourself as an editor or a reader, tell the Agent what to change, and watch it make the changes.
So, friends. AI can help us become very efficient, but sometimes it still depends on us—read more, think more, brainstorm more. Of course, if you have no ideas, just have a few more rounds of dialogue with the AI, train it a bit.
After the outline is created, you can start filling in the content. Again, proceed by conversing with the Agent.
Since the first chapter is already written, simply open the second chapter and then ask the AI to expand it via the Agent. I used a prompt like the one below; you can modify and use it according to your needs (I kept it simple here because the previously generated style/settings already contain more specific requirements):
"Please help me complete the content for this current Chapter Two based on its outline."
Then, once again, wait for the AI's performance!
After the AI modifies based on the outline, you can see the differences before and after. You can accept, reject, or continue the dialogue with the Agent to make further changes. Dialogue is creation—very efficient!
Just like this, you can quickly complete the first 80,000 words! Then, wait for the verification period data! If the data is good, keep writing. If not, we start a new project!
Step 4: Enabling Intelligent Context for Unlimited Continuation
If the data after 80,000 words is decent, then keep writing!
But online novels often run into millions of words. How can the AI write with consistent style and continuing plot? What if it forgets the foreshadowing planted earlier?
This is where the ultimate weapon comes in: Intelligent Context! Actually, you can enable Intelligent Context after having three or four chapters. It automatically summarizes style, characters, foreshadowing, and other information based on existing content. This makes subsequent creation more efficient!
To enable it, create a new Intelligent Context in the Rules section.
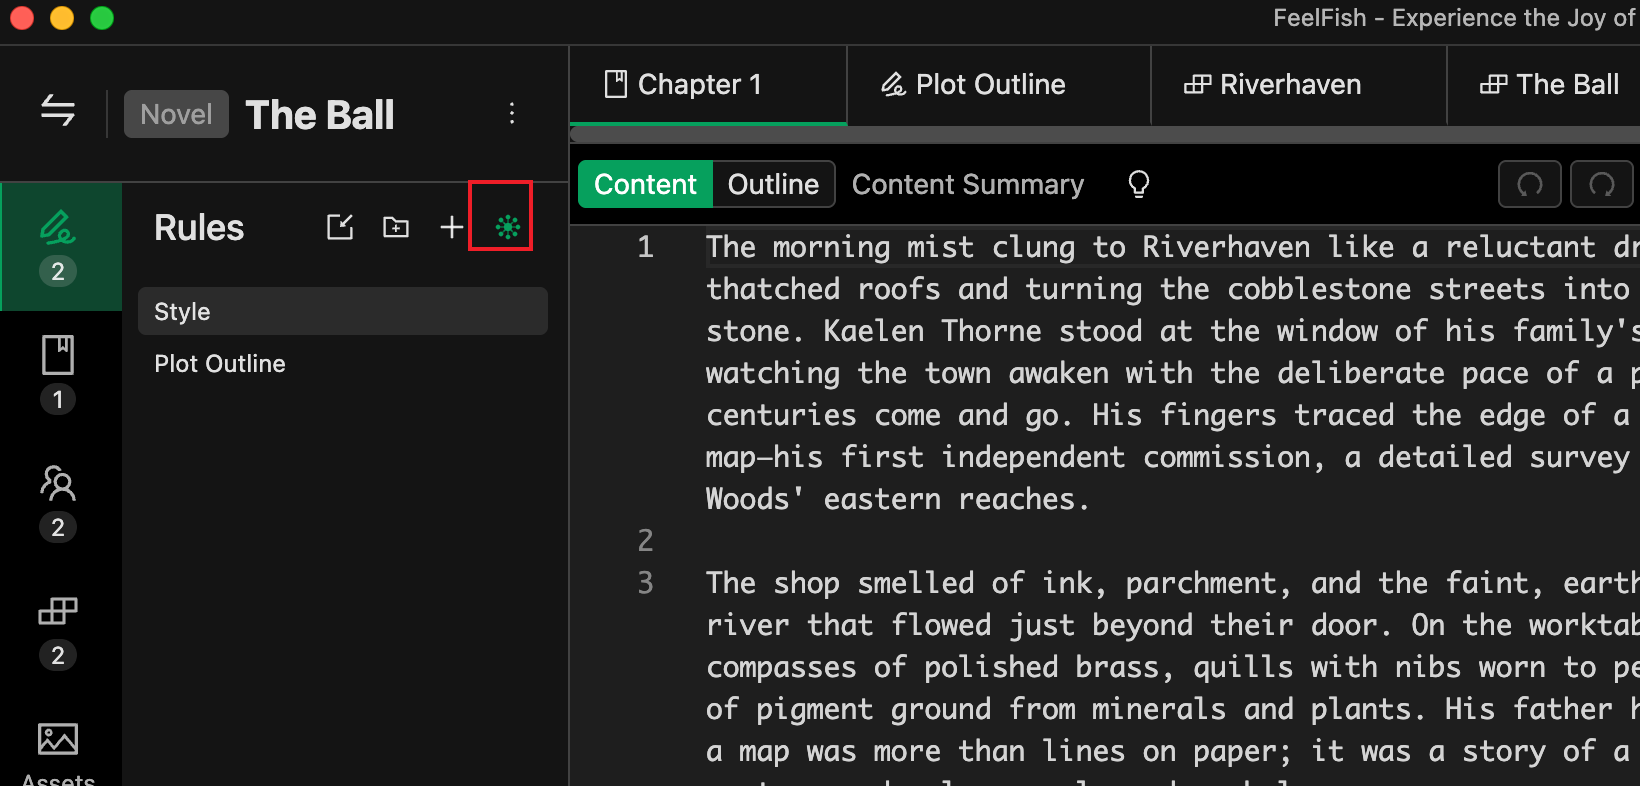
Click this little green eye, enter a name. For beginners, simply enter "Intelligent Context." Once you use it more, you can get fancier, like creating a separate "Foreshadowing Log" to record foreshadowing, or "Protagonist's Wealth Tracker" to track how much money the protagonist has. Even if the AI doesn't use it, it's great for the author to r
Besides using the Agent, the auxiliary creation panel is also a great tool for later-stage continuation. If you prefer to specify the general plot and let the AI write, this is more convenient than the Agent. For example, input a brief plot of ten or twenty words, and the AI can easily write several hundred words for you. Open the auxiliary creation panel with the Ctrl+K shortcut key, and remember to check the Intelligent Context there too.
You can also customize your creation prompts and save historical messages for future use.
Alright, that's it. Effortlessly reaching several million words is no problem. Note that FeelFish is just an editor; your content is stored locally, so be careful not to lose it. It's recommended to post drafts to the platform as you write or back up using cloud storage for synchronization.