Getting Started
FeelFish AI Novel Writing Starter Guide
This guide provides a detailed walkthrough on how to create your novel from scratch using the FeelFish AI writing software. By following these steps, you will be able to fully leverage the power of AI to craft captivating novel works.
Step 1: Download and Install the Client
First, you need to download the FeelFish client:
- Visit the FeelFish Download Page
- Select the version compatible with your operating system and download it.
- Run the installer and follow the instructions to complete the installation.
- Launch the application and complete the account registration or login.
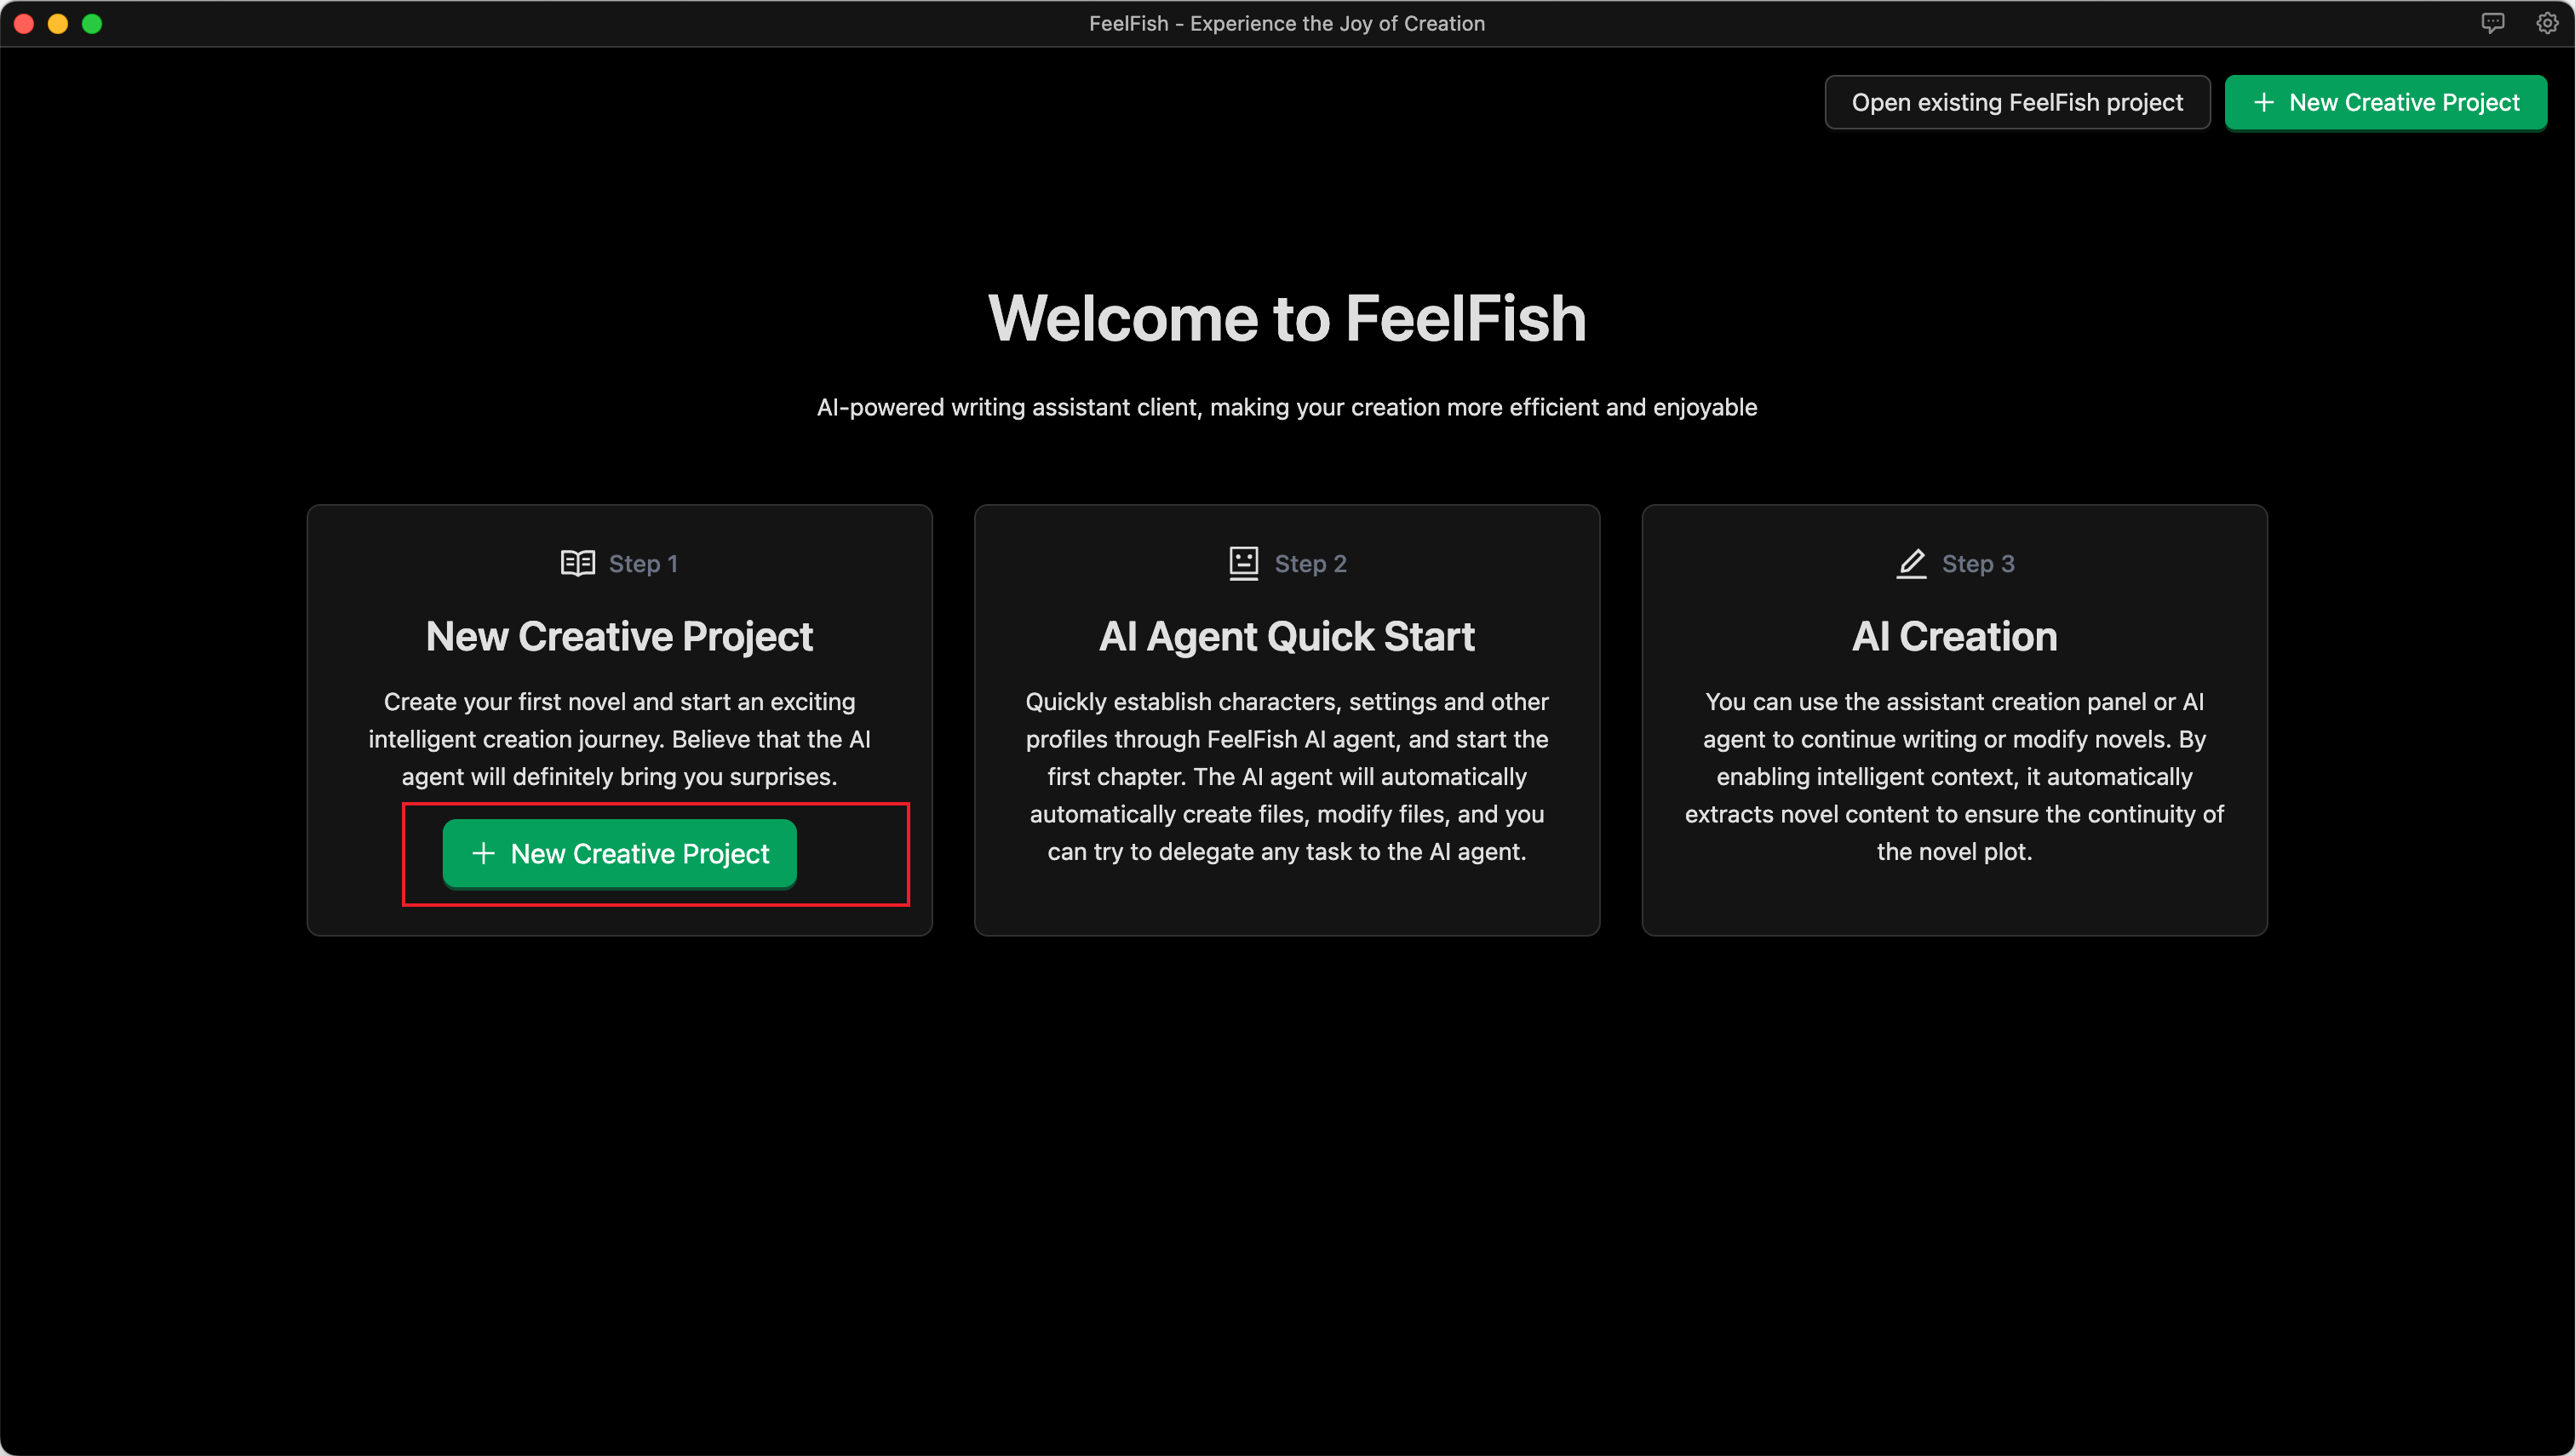
Step 2: Create a Novel Project
After installation, begin creating your first novel project:
- Click the "New Project" button.
- Name the project after your novel (e.g., "Adventure in the Mysterious Garden," "City of the Future," etc.).
- Select the project type as "Novel Writing."
- Click Confirm to create the project.
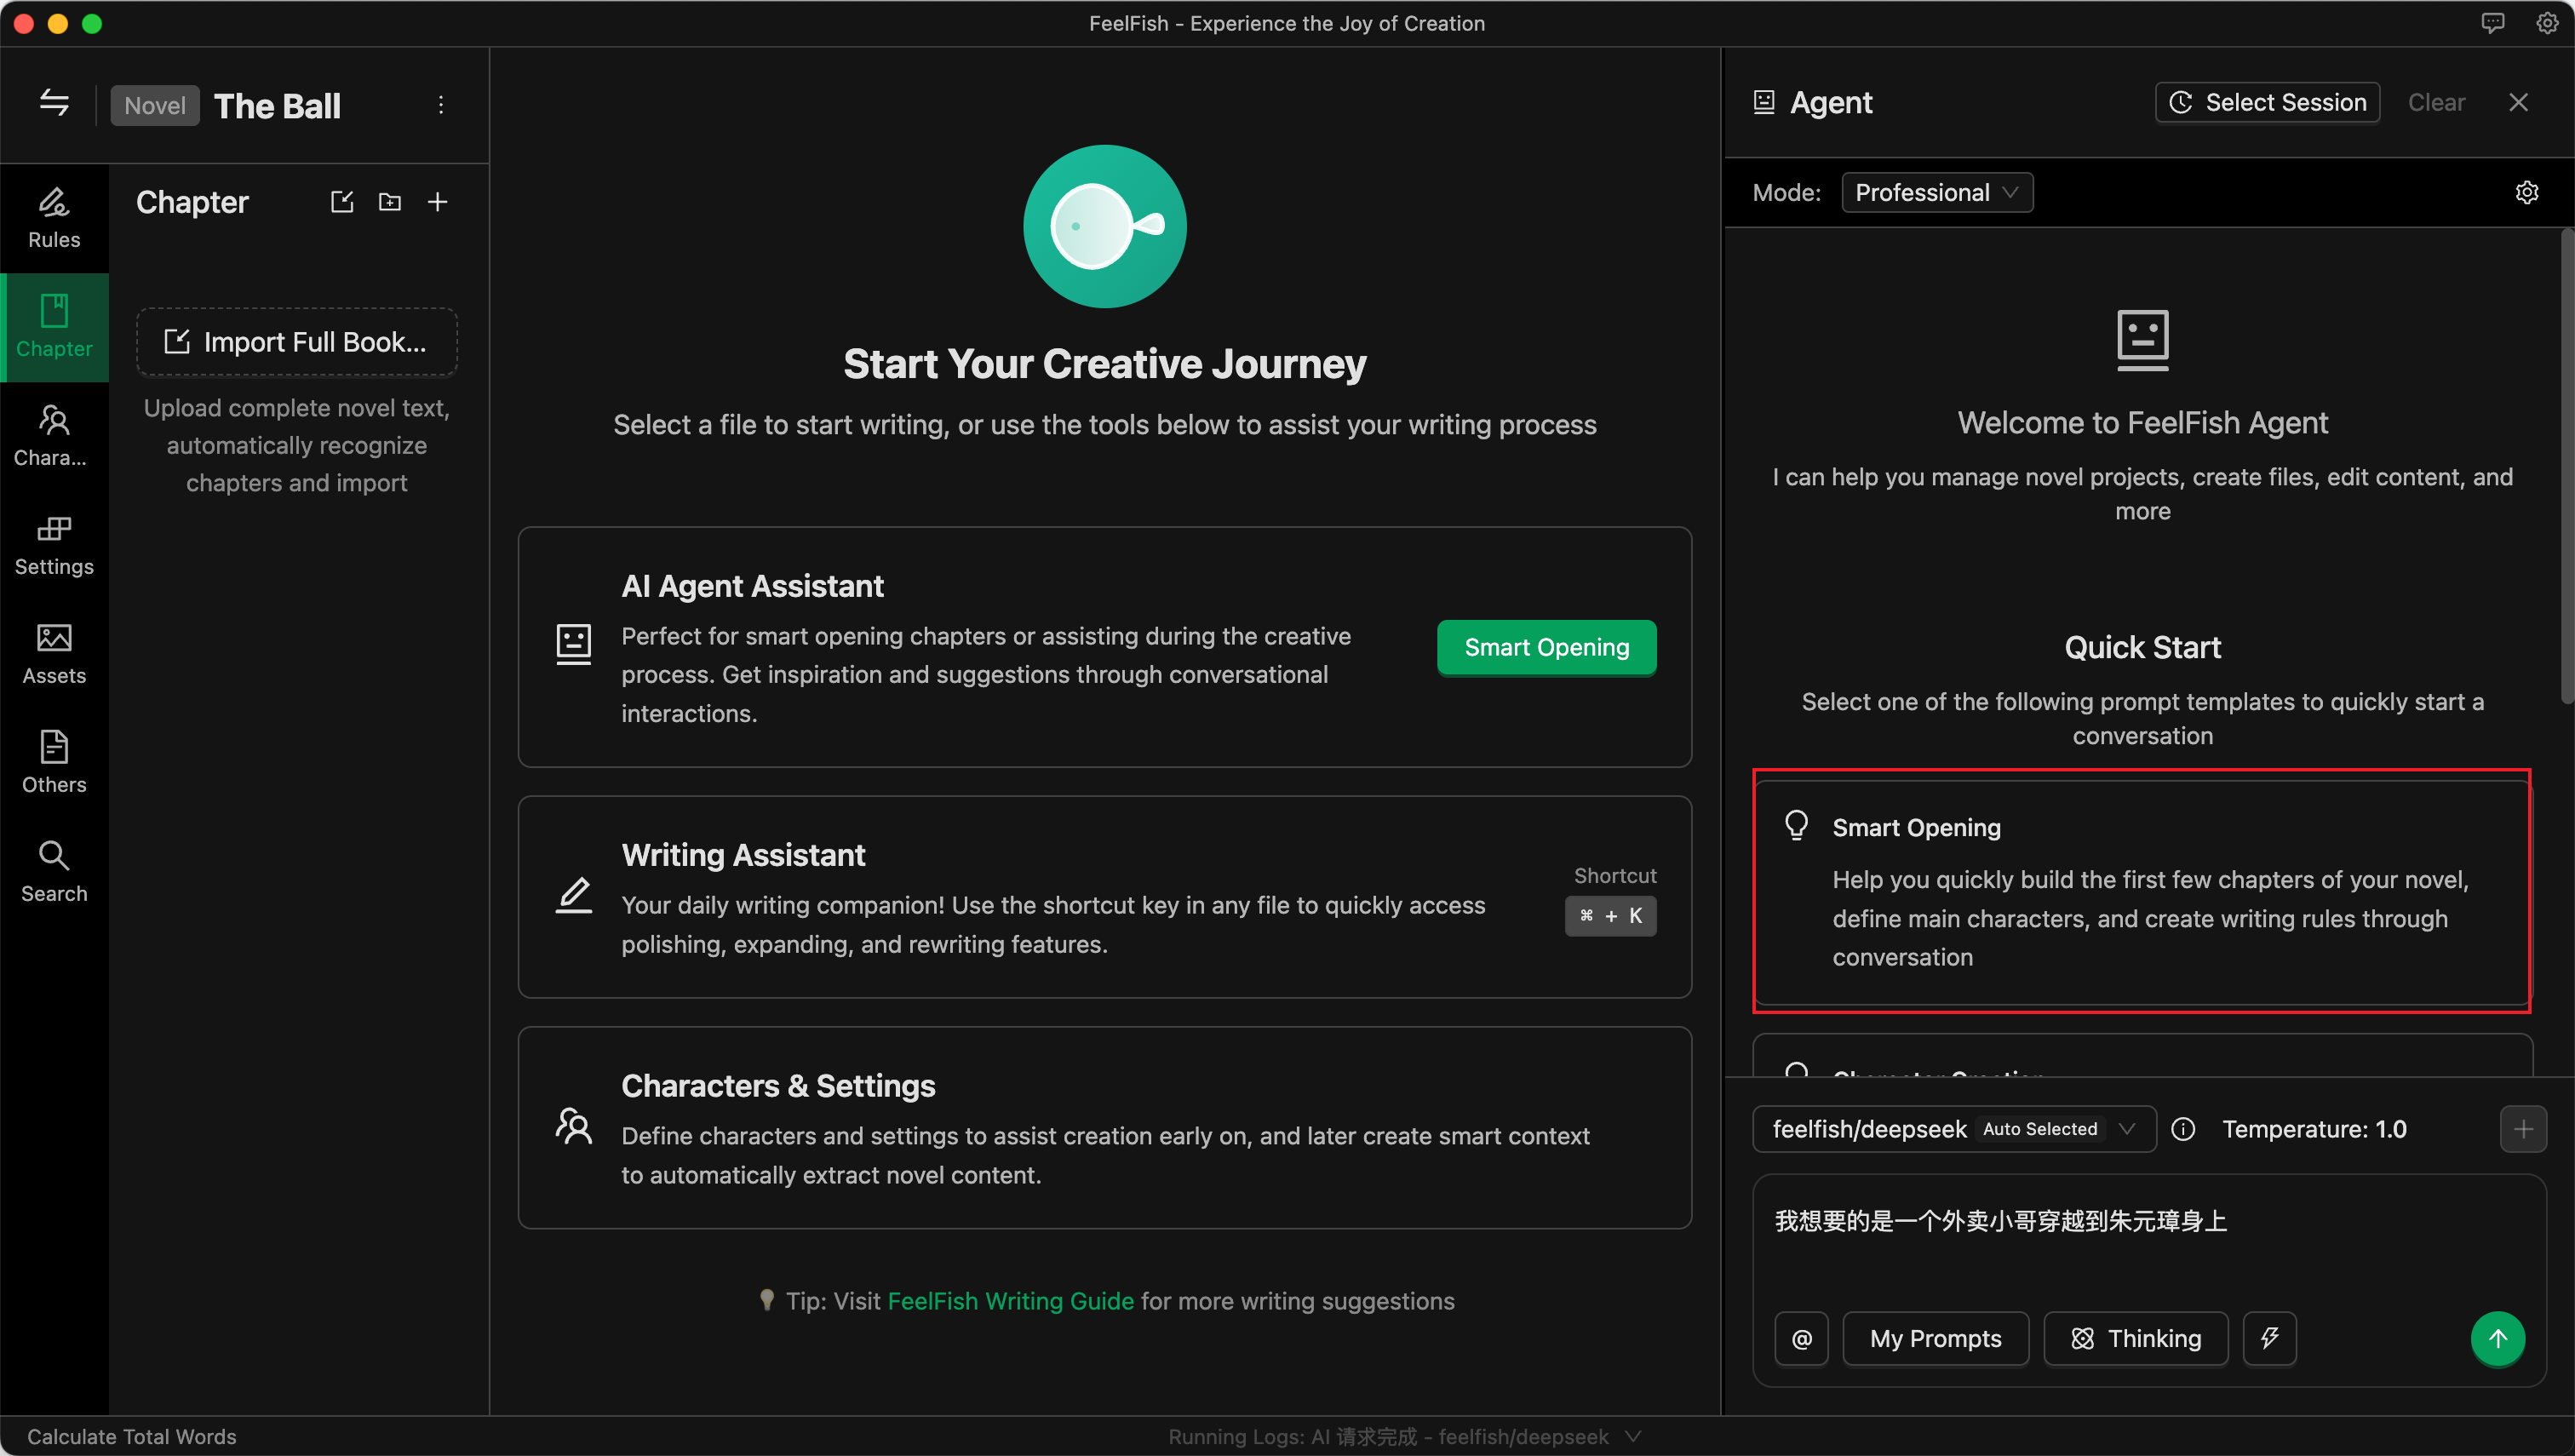
Step 3: Dialogue with the AI to Build Your Novel's Framework (Characters, Setting, etc.)
Before you start writing, establishing a clear framework for your novel is crucial. For example:
- Create a description of your novel's style, including narrative tone and prose style, and define the target audience.
- Create detailed profiles for main characters, including their appearance, personality, and backstory.
- Build the world-building settings, establishing important environmental details.
As shown in the image below, you can express your ideas by conversing with the AI Agent, allowing it to help you quickly construct the novel's framework and opening:
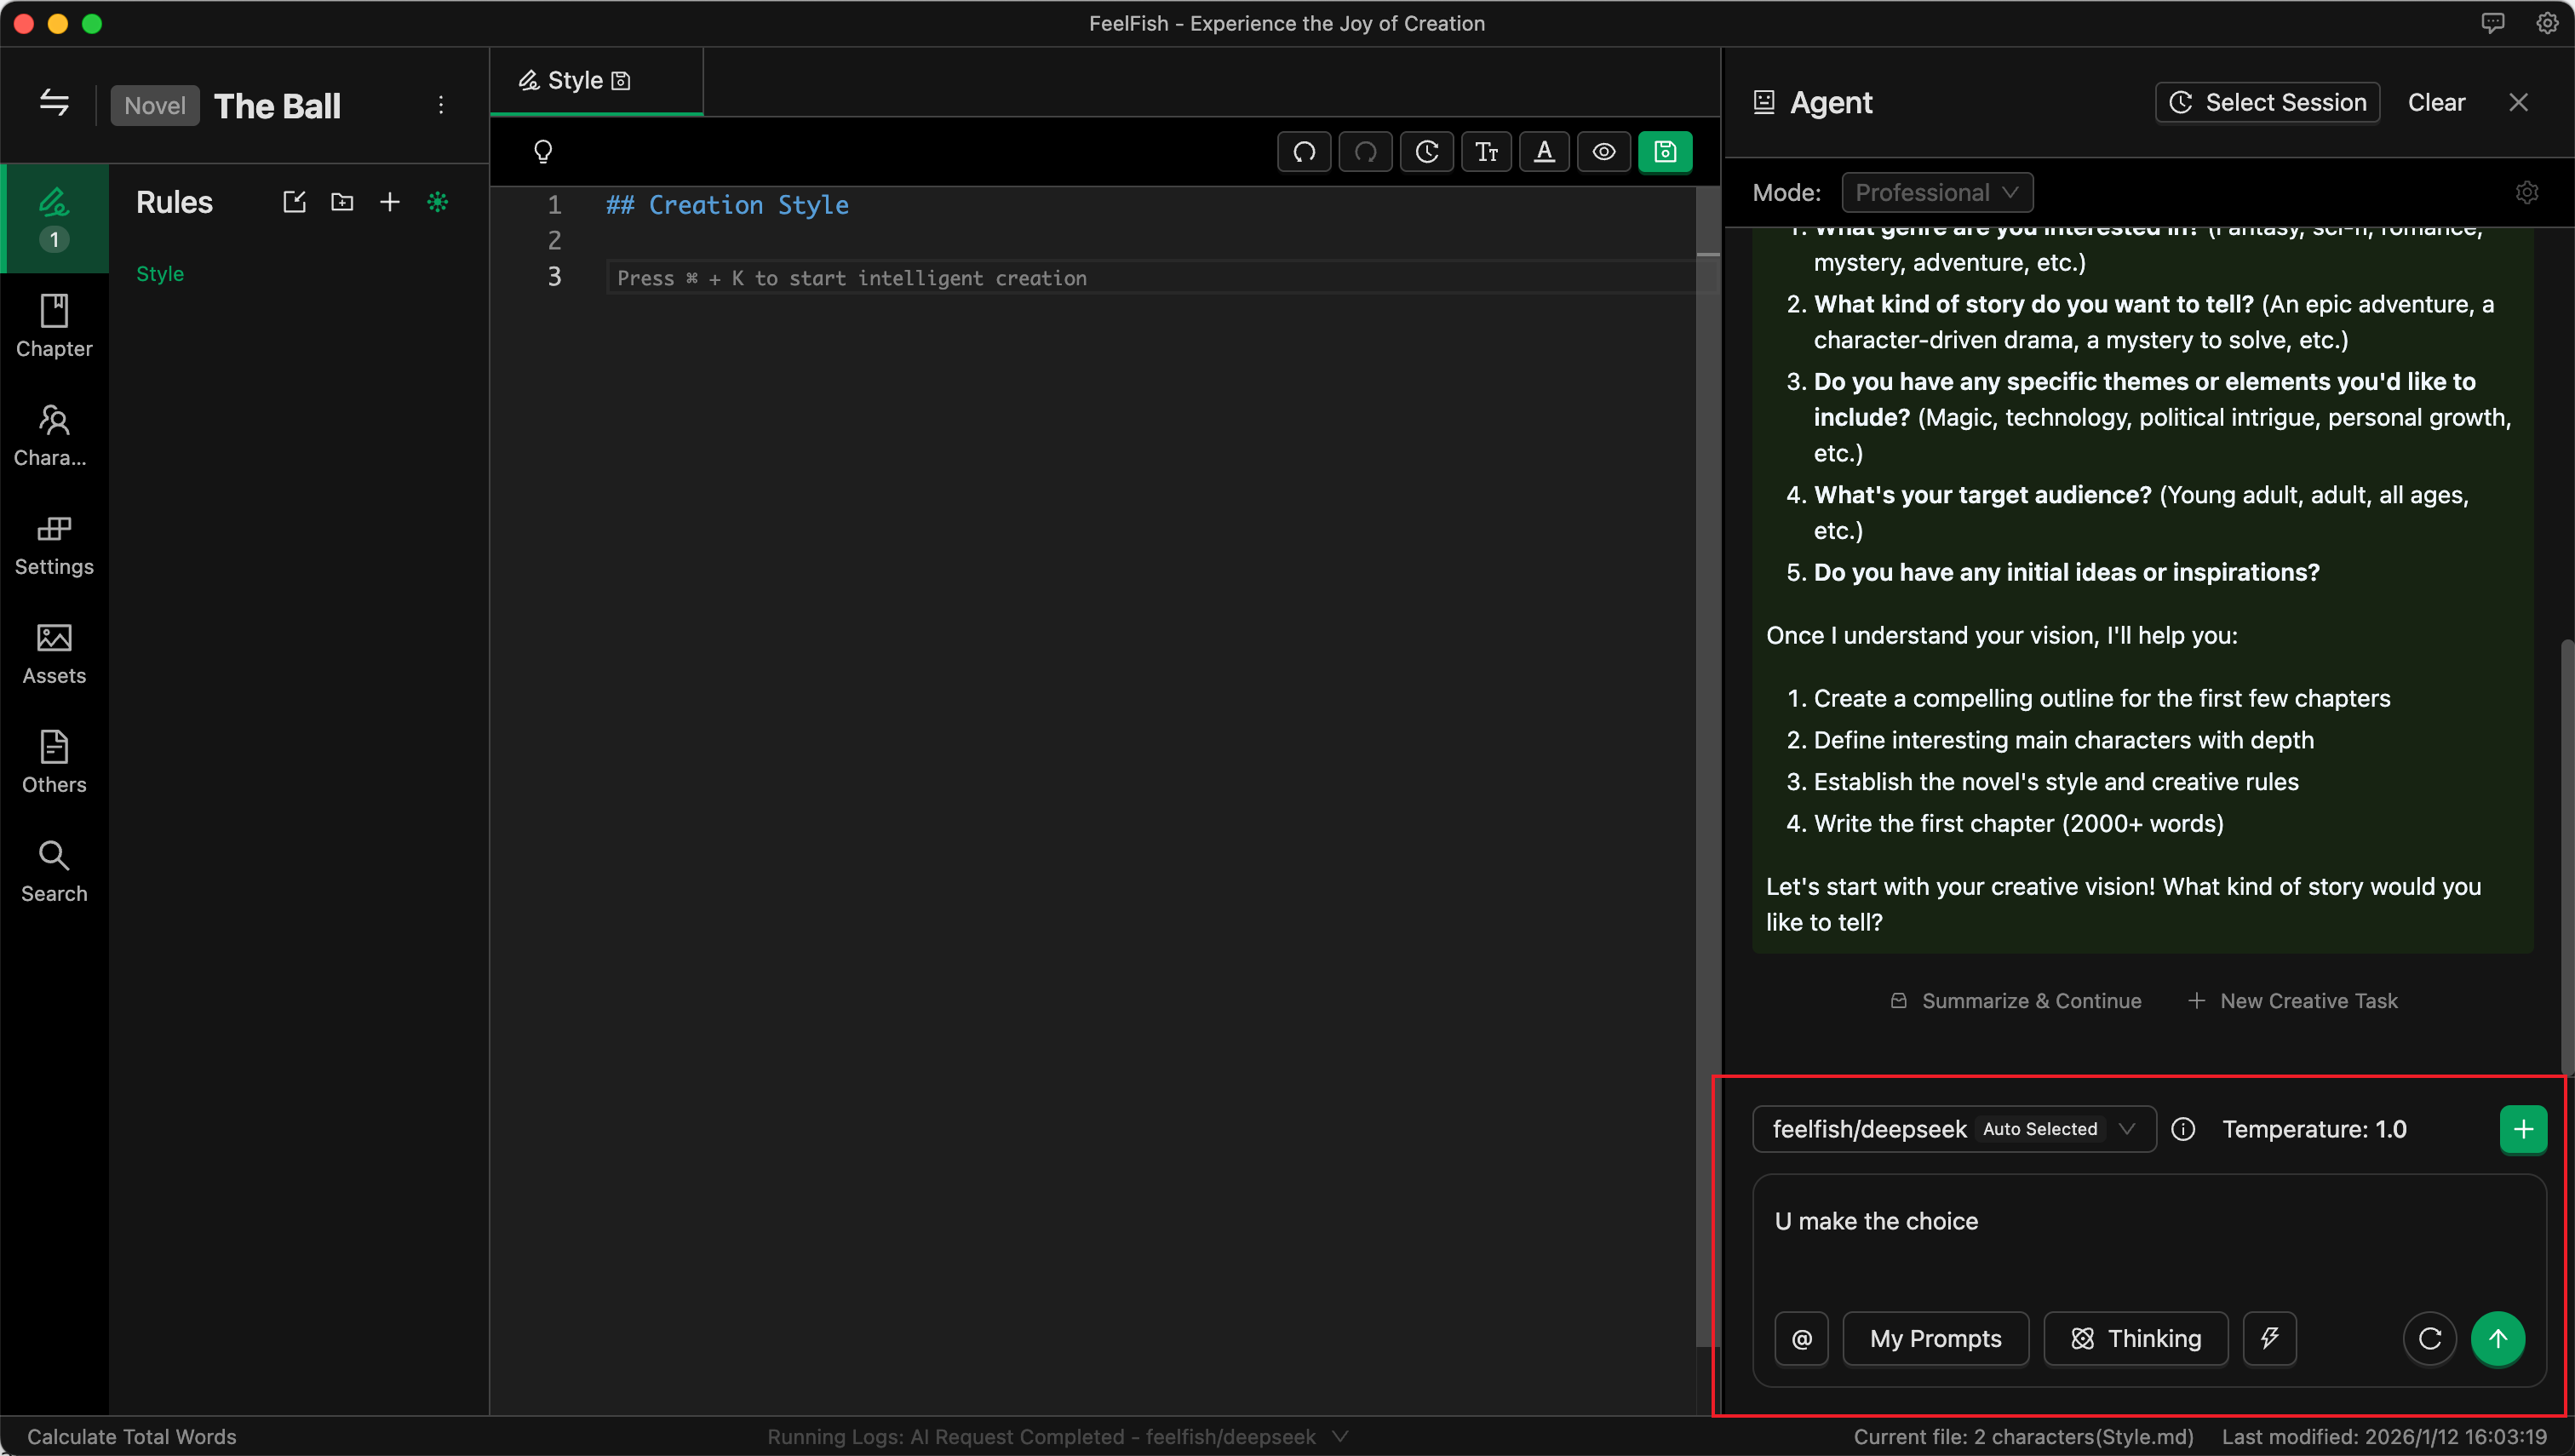
Step 4: Begin AI-Assisted Creation
Now you can start the actual writing process. There are two ways to interact with the AI for creation.
Creative Dialogue with the AI Agent
As shown in the image below, you can freely and flexibly create content by describing your requirements in a conversation with the AI Agent:
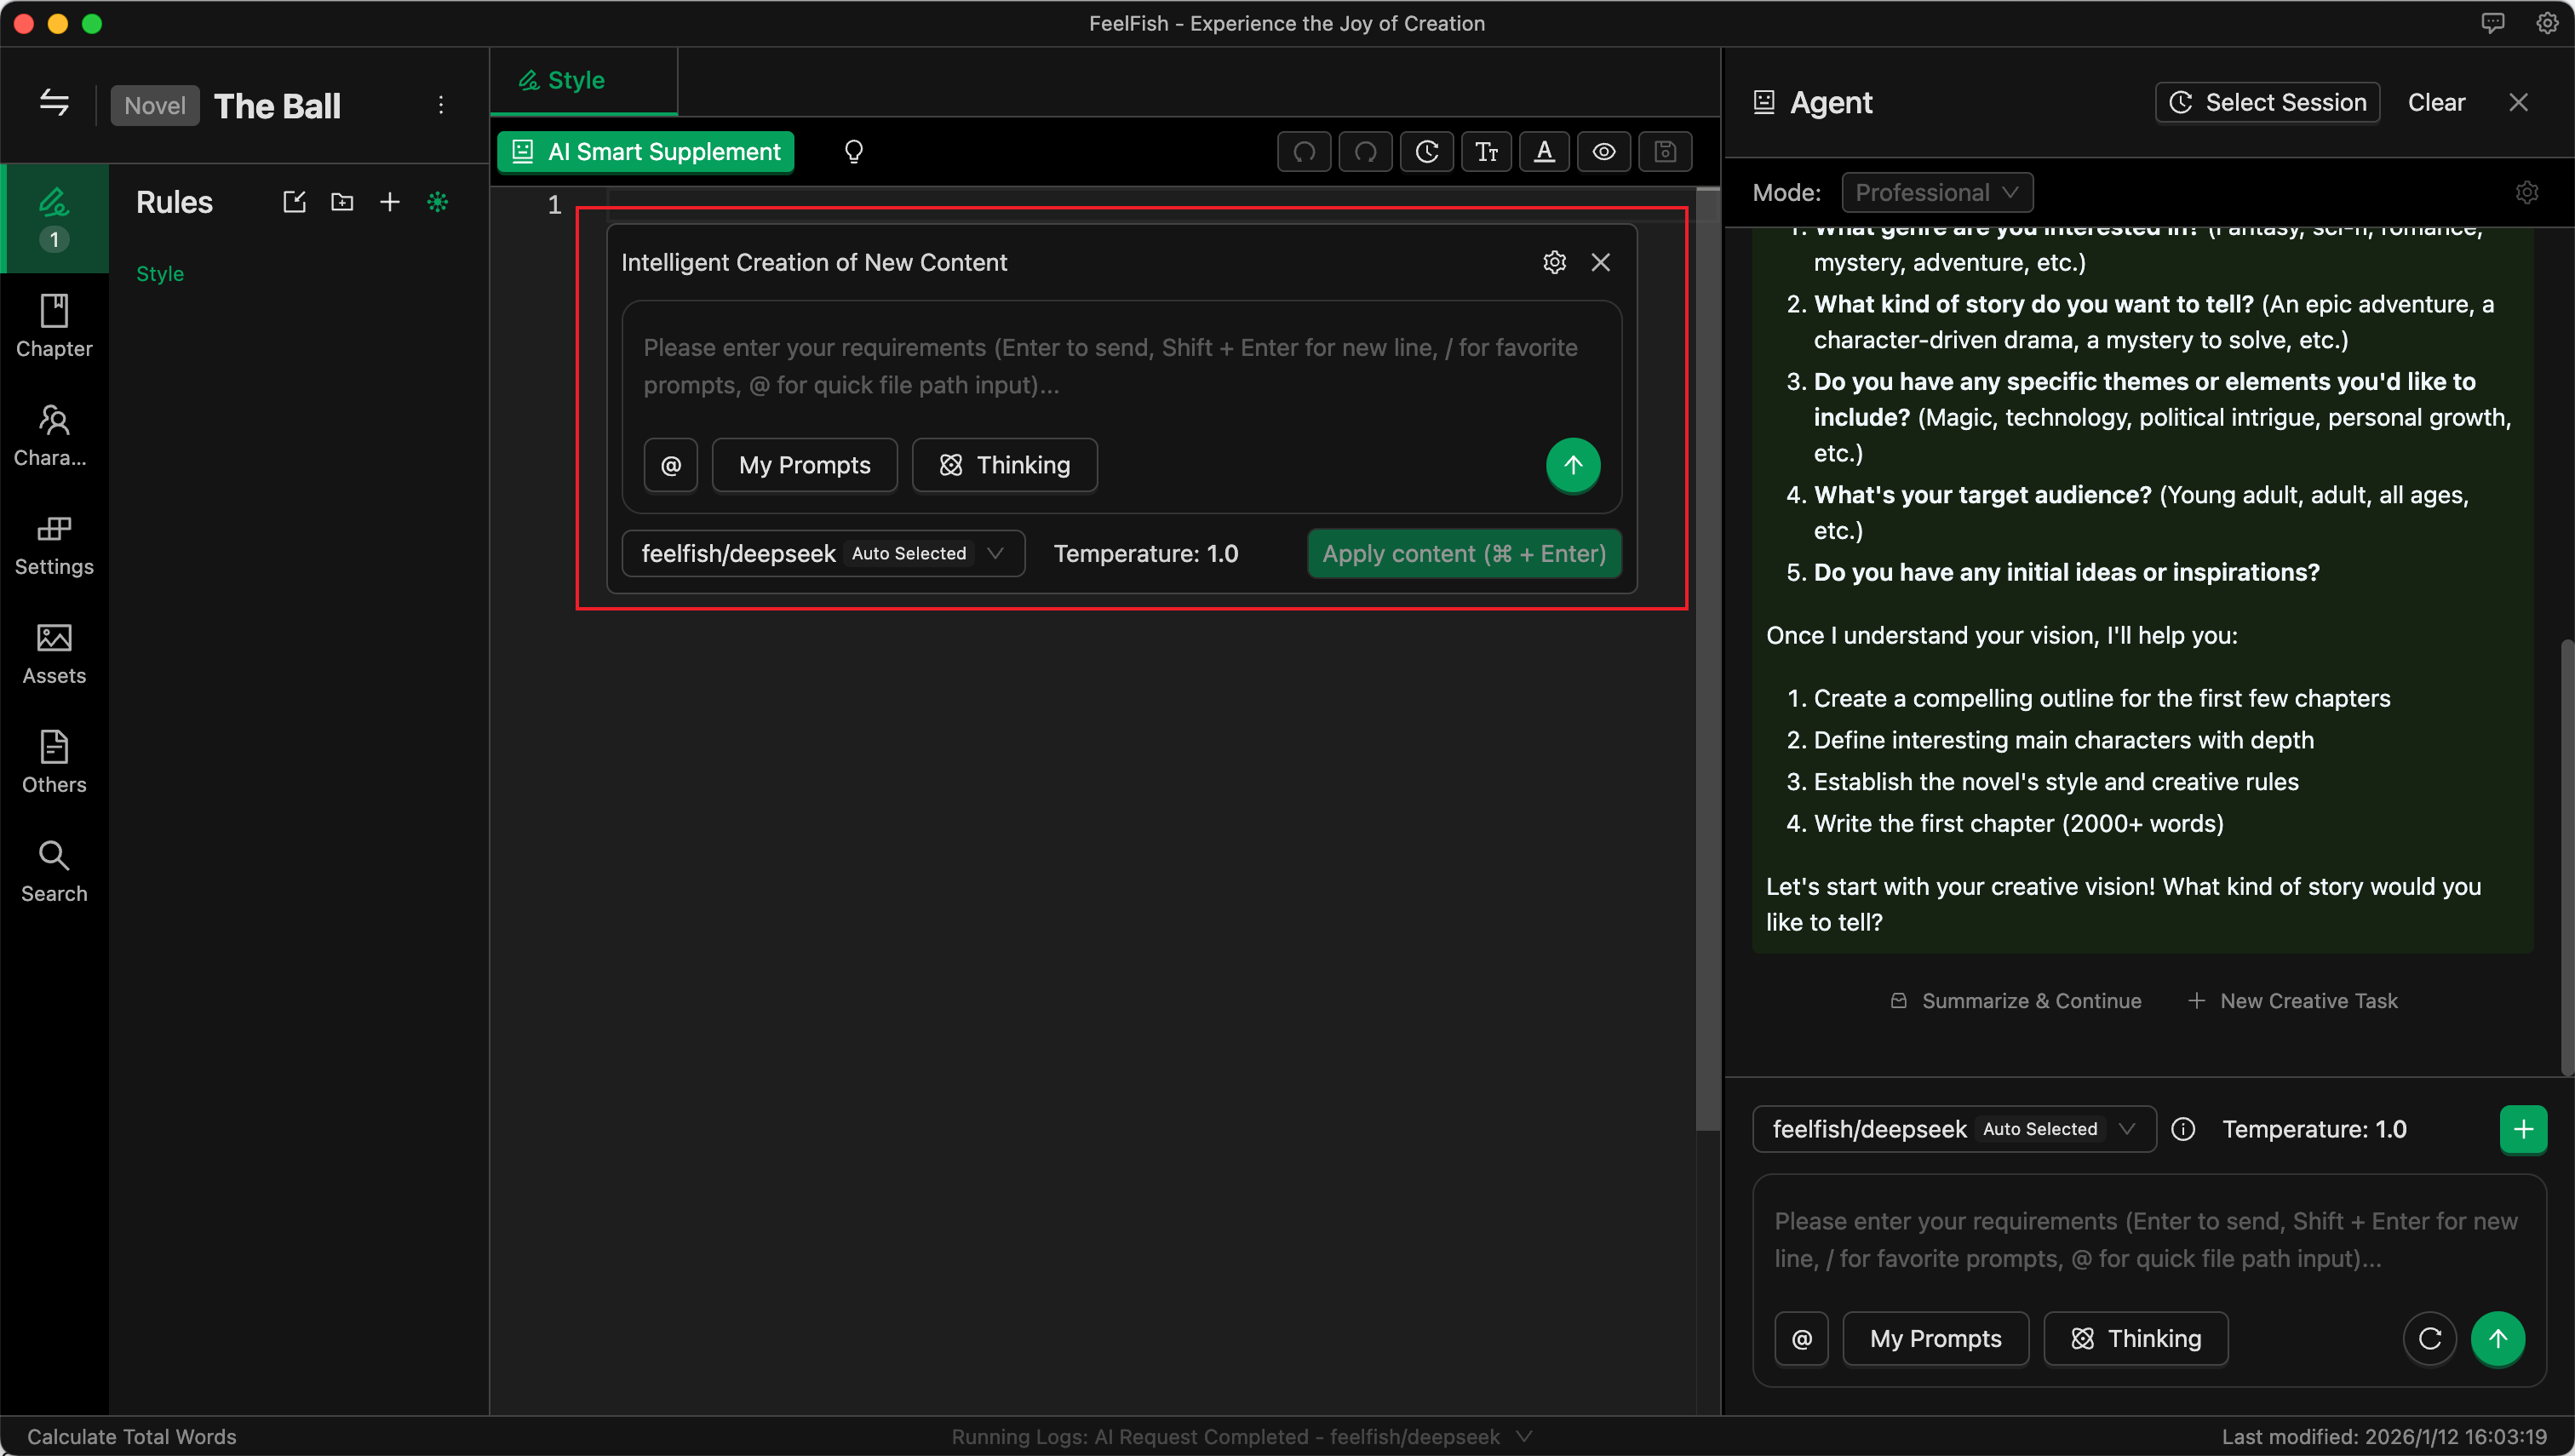
Detailed Creation Using the Assistant Panel
- Position your cursor in the editor where you want to start writing.
- Press the shortcut key:
- Windows/Linux:
Ctrl + K - Mac:
Cmd + K
- Windows/Linux:
- In the pop-up dialog, describe the content you want to write.
- The AI will generate corresponding text based on your description and the previously set background information.
- You can choose to accept, modify, or regenerate the content.
Step 5: Personalized Settings and Optimization
For the optimal creative experience, you can:
Customize Prompts
- Adjust AI prompts according to your writing style.
- Set specific language style preferences.
- Add exclusive creative instructions.
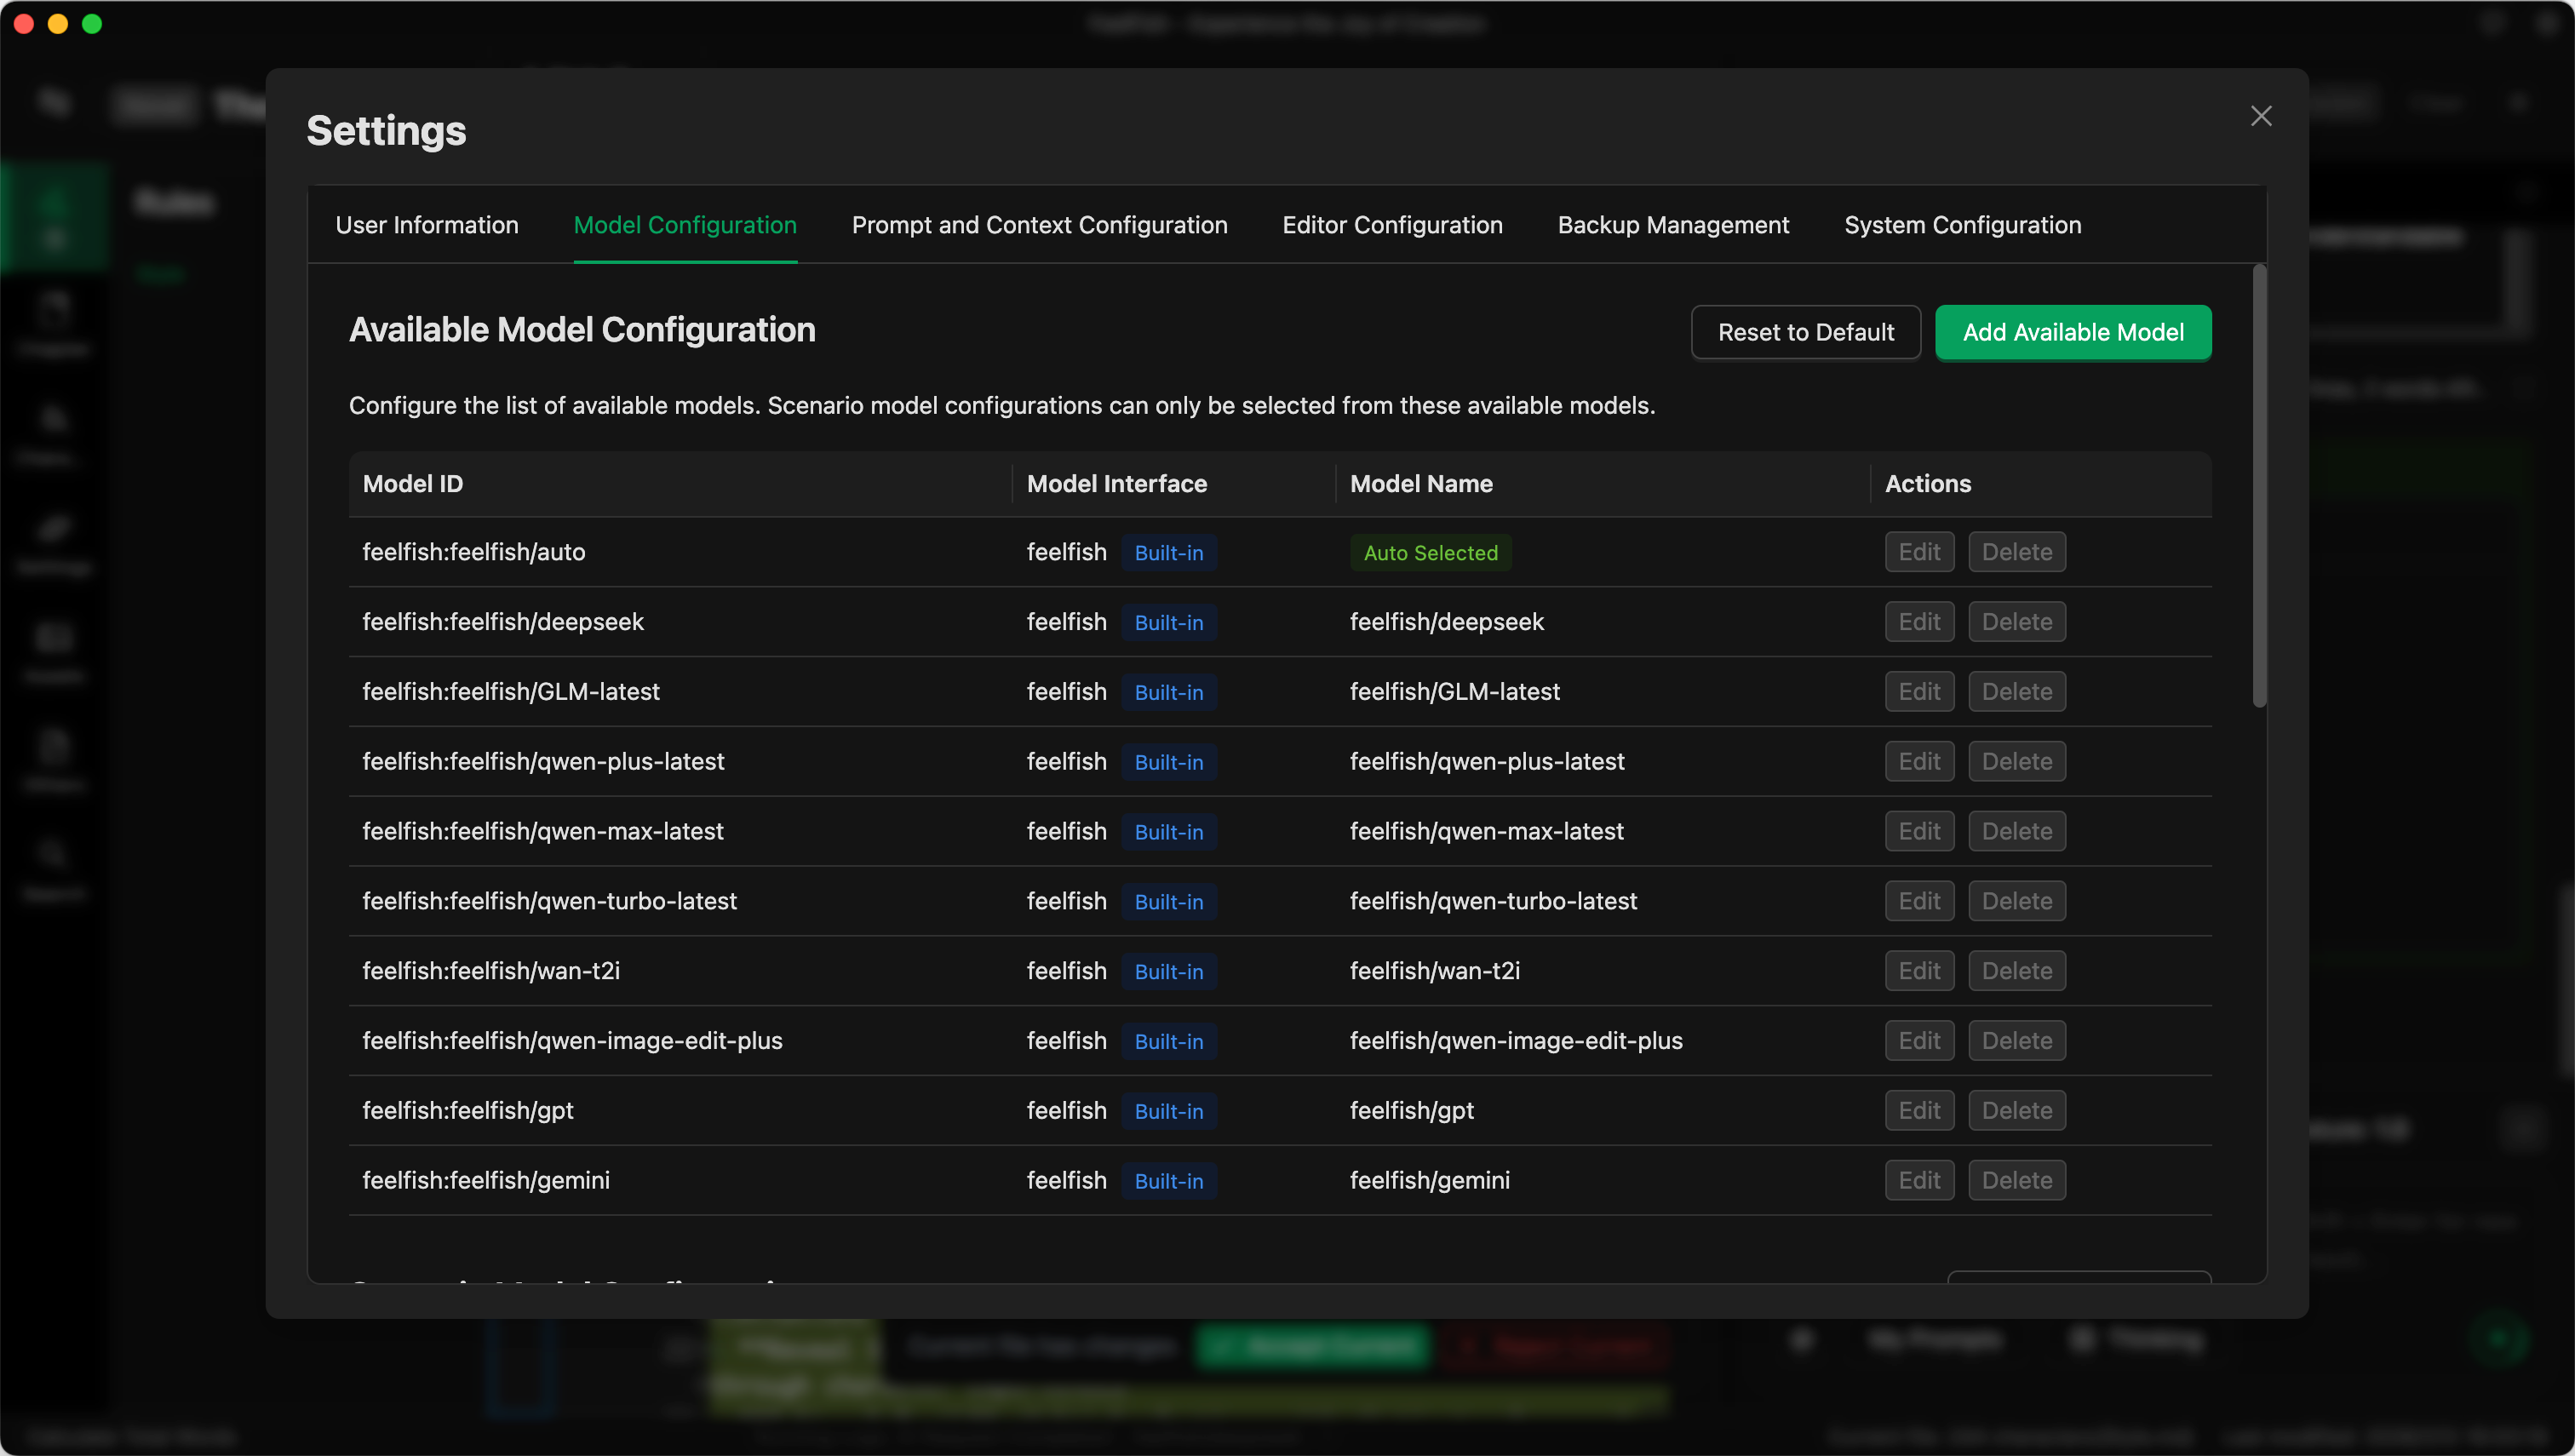
Choose the Right AI Model
- Try different AI models to find the one best suited to your creative style.
- Select specially optimized models based on the content type.
- Adjust model parameters to achieve the desired output effect.
Set Creative Preferences
- Configure text length preferences.
- Set the balance between creativity and accuracy.
- Customize output format and structure.
![Personalized Settings Example]
Advanced Tips and Resources
To learn more about how to better utilize AI for creation, as well as more of FeelFish's advanced features and novel writing techniques, please visit:
Need Help?
If you encounter any problems while using the software or need more creative guidance, please feel free to contact us:
📧 Email: feelfish@foxmail.com
Start your AI-assisted novel writing journey today! Let FeelFish be your most capable creative partner.